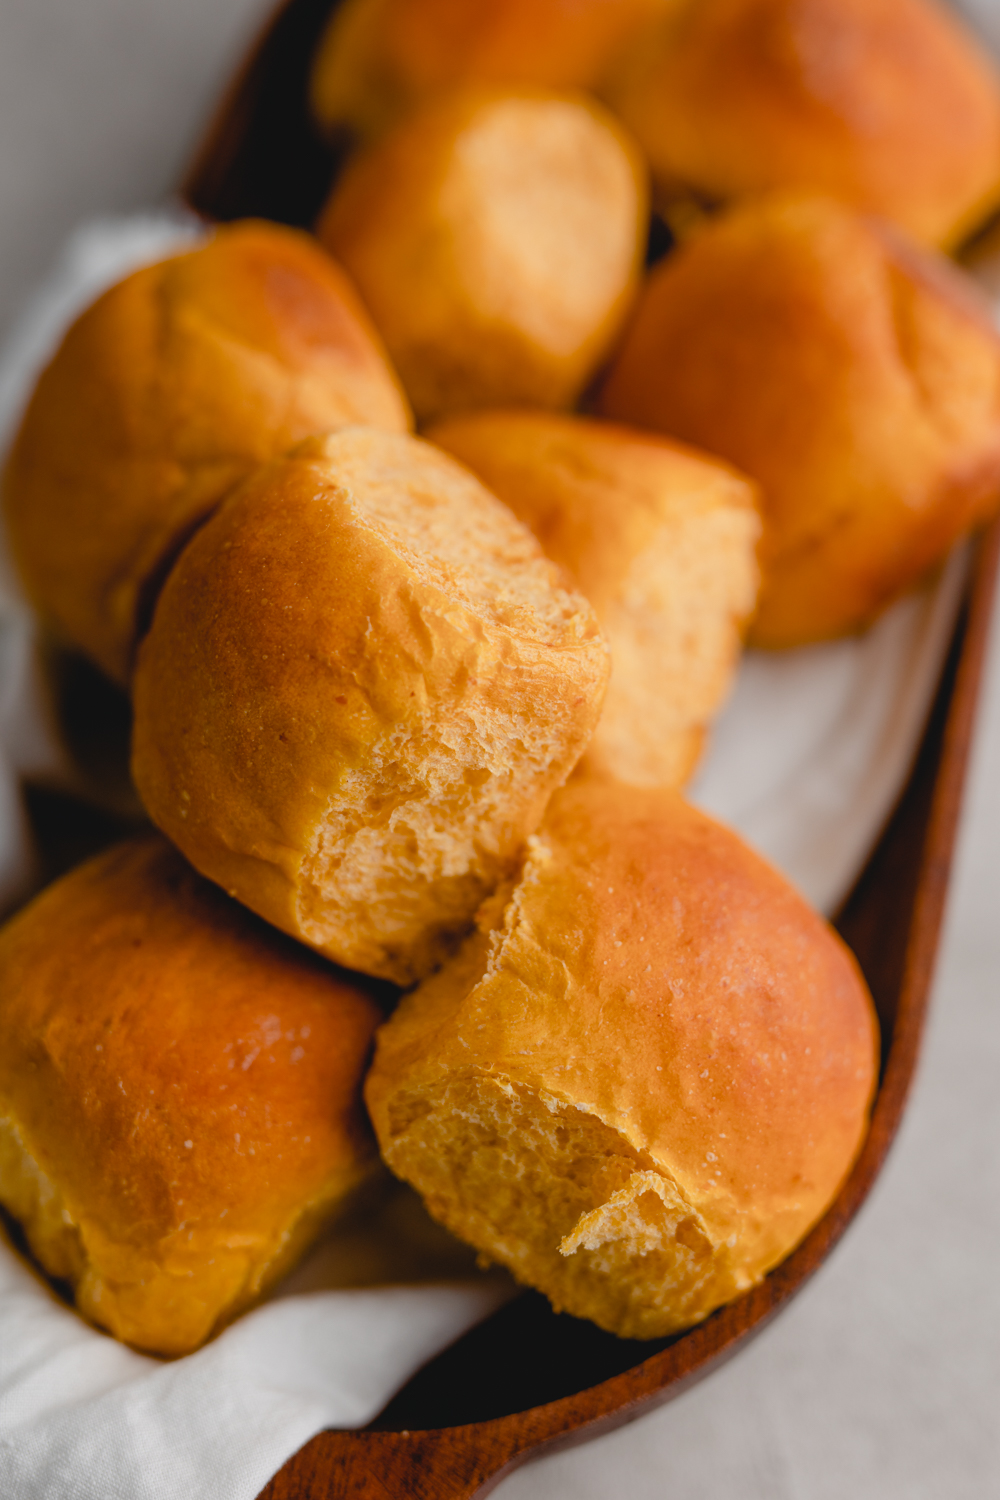
Big Soft Honey Wheat Dinner Rolls
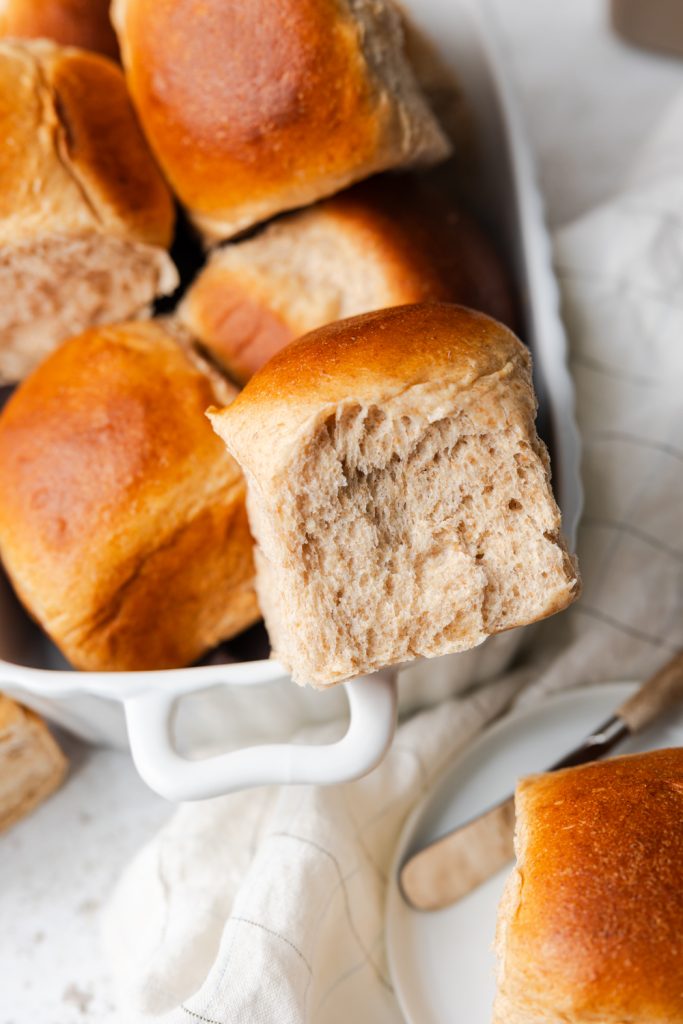
These honey wheat dinner rolls are, if prepared as written.. big. Jumbo even. But that’s what you want when you have a delicious piece of bread. At least, that’s true for me. Bread could BE the meal and I’d be happy.
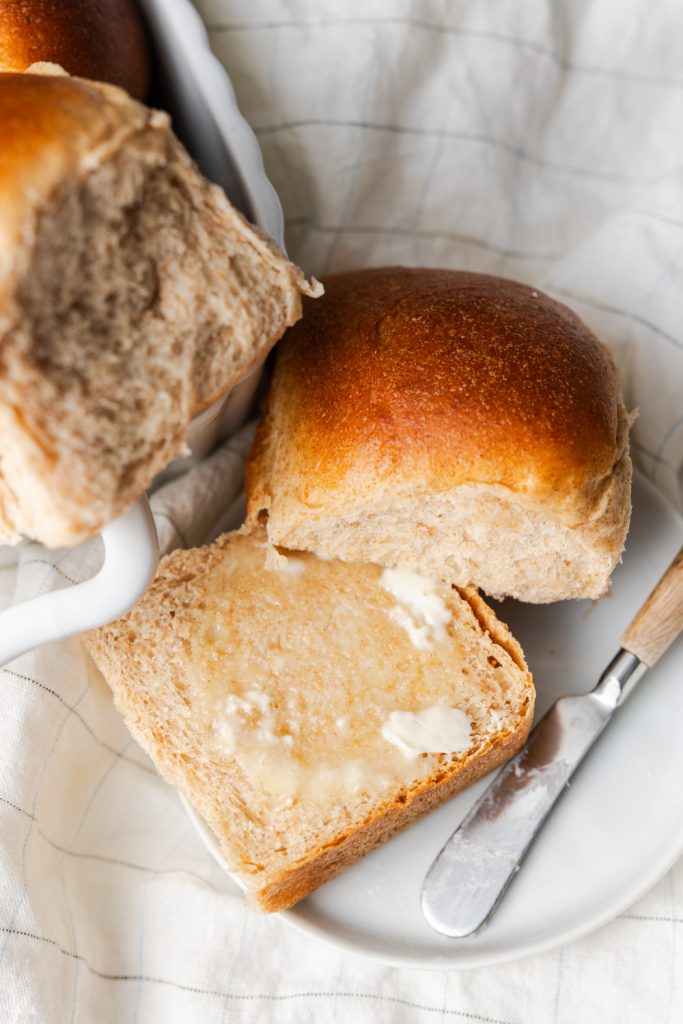
Wheat bread? Ew. Healthy bread.. I know some of you are thinking it. As someone who spent a decade eating Ezekiel bread for breakfast, this is NOT a health bread. It’s soft, it’s delicious, fluffy and has excellent flavor. Even my husband who hates wheat bread said they were really good. They will be kid and picky husband approved, I promise.
I don’t have a ton of wheat bread recipes on my site because I KNOW it’s not as popular, so if I give you one I promise it’s a good one.
Baking Notes + Tips
If you’ve never baked with whole wheat flour before, it is definitely a slower to rise dough than anything baked solely with AP or bread flour. So your proofing time may be a little bit longer than anticipated, and downright long if your house is chilly. I recommend letting your bread proof in the oven – OVEN TURNED OFF – with just the light on to provide extra help, or a proofing mat which is just a warm place for your bowl to sit. Before I had a proofing mat, sometimes I’d sit my bowl on top of the dryer or the refrigerator so those are also options.
Whole wheat flour sucks up liquid like you wouldn’t believe. So, if you are using a different flour than what I tested with, don’t be afraid to add an extra tablespoon of milk if your dough feels like it needs more. The dough should be elastic and soft but not too sticky when you’re finished kneading.
The baker’s dry milk is an optional ingredient, but it’s one I like having on hand. I use it in my Super Soft Milk Bread Buns and Best Brown Butter Cinnamon Rolls, and just like in those recipes it really helps make the dough extra soft and tender. I like the King Arthur brand, however any nonfat dry milk will work. Just make sure it’s nonfat, as whole dry milk is something different and will not yield the same results.
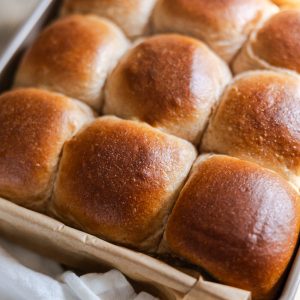
I baked these honey wheat dinner rolls in a 9×9 pan, and that’s going to produce 9 LARGE rolls. Now, you could bake these in a 9×12 pan and they will be smaller, however the rolls might not fill the pan completely. From a baking standpoint that’s perfectly fine, you will just have a little more crust/edges than baked in a smaller pan where they become a tear and share style.
Honey Wheat Dinner Rolls Key Ingredients
- Whole wheat flour – Whole wheat flour is obviously star of the show when it comes to honey wheat rolls. I tested this with King Arthur Organic Whole Wheat flour, mainly because that’s what is most readily available to me locally and I love KA brand flours. It doesn’t need to be organic though, I don’t normally bake with organic flour. There are different varieties of wheat flour like blends or golden/white wheat flour. These will all yield slightly different tastes and may change the amount of liquid required.
- Honey – Most bread has some form of sugar in it. I know you’re thinking why does bread need sugar, it’s not sweet. You are right, however sugar helps with more than just making something sweet. Sugar can help the texture of the bread stay soft, and it also helps with the Maillard reaction – aka the browning of the tops. Sugar, or in these honey wheat rolls, honey, gives the yeast something to feed off. I used basic clover honey, but I bet an orange honey or maybe even a hot honey would add a small little oomph in the flavor dept.
- Bread flour – Bread flour is still needed for this recipe even though it’s a wheat rolls recipe. Wheat flour on it’s own would create a very dense bread. Gluten does not form quite as easily due to the bran content. Adding bread flour (or all purpose) helps the bread rise more, and become softer and fluffier with more of the texture you’re probably wanting when eating bread.
Ingredients
- 300 g Whole wheat flour 2⅔ cups
- 240 g Bread flour 2 cups
- 7 g Instant yeast 2¼ tsp
- 12 g Sea salt 2 tsp
- 8 g Baker's Dry Nonfat Milk 1 tbsp
- 1 large Egg room temperature
- 300 g Whole or 2% milk 1¼ cup, warm ~90°F
- 84 g Honey 4 tbsp
- 56 g Unsalted butter 4 tbsp, room temperature
- 2 tbsp Milk for brushing
Instructions
- In the bowl of your stand mixer with dough hook attached, add wheat and bread flour, yeast, salt, dry milk, egg, milk and honey.300 g Whole wheat flour | 240 g Bread flour | 7 g Instant yeast | 12 g Sea salt | 8 g Baker's Dry Nonfat Milk | 1 large Egg | 300 g Whole or 2% milk | 84 g Honey
- Mix on low until a dough starts to take shape.
- Add your softened butter one tablespoon at a time, letting it be completely mixed in to the dough before adding the next. Repeat until all the butter has been added.56 g Unsalted butter
- Let your dough continue to knead until smooth and elastic (10-20 minutes).
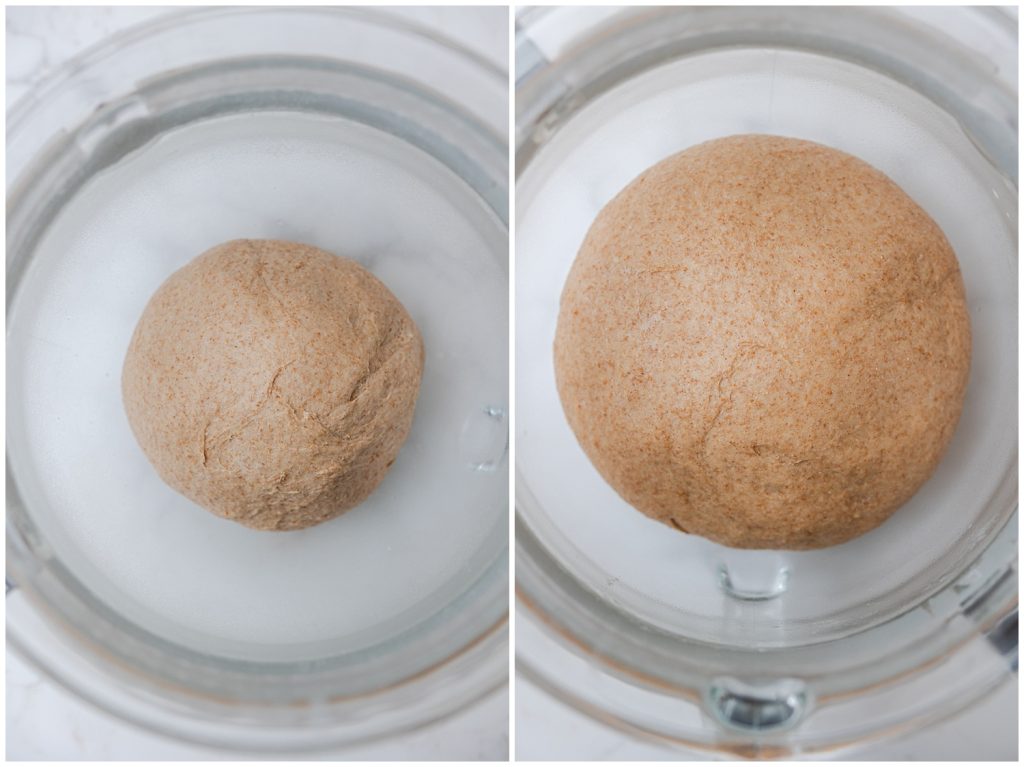
- Remove your dough from the bowl and lightly grease the inside of the bowl. Shape your dough into a ball and place back in the bowl.
- Cover your bowl and allow to proof in a warm spot for 1-2.5 hours or until doubled in size.
- Line a 9×9 pan with parchment paper, set aside.
- When your dough is ready, punch down and move to your workspace.
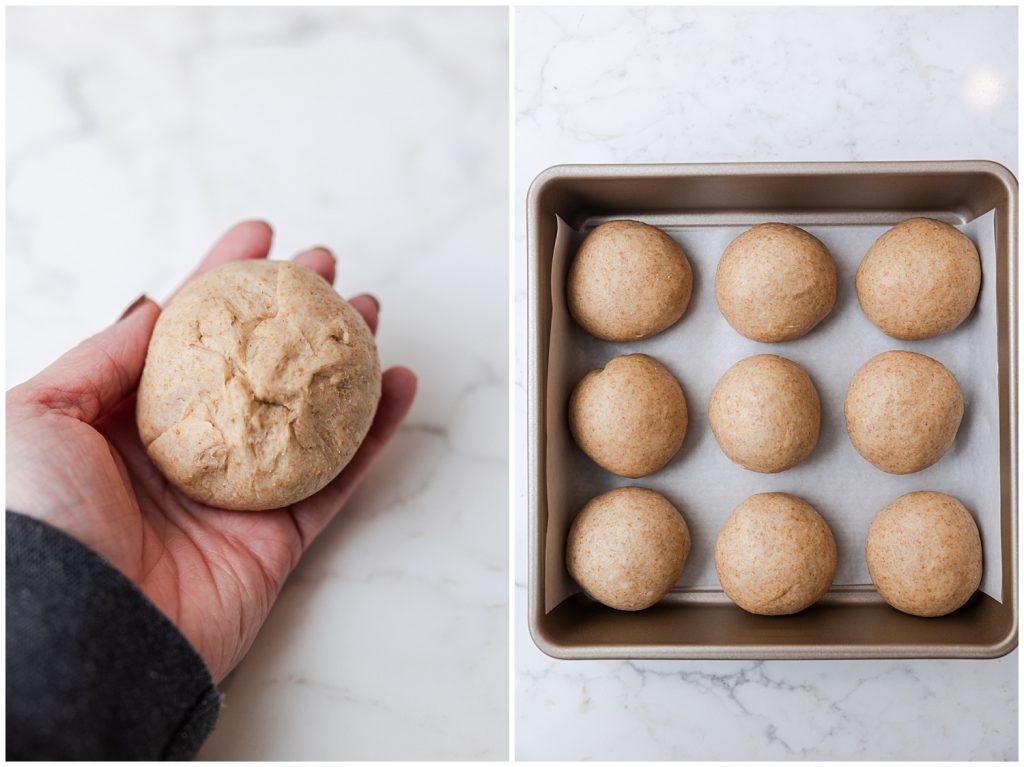
- Divide your dough into 9 equal portions. Take one and cover the rest while working and shaping. Using a scale to measure the dough will help provide all the rolls to be identical in size, but is not at all required.
- Take the portion of dough in your palm and fold all the sides toward the center making a pouch like shape. Flip the dough over onto your work space, seam side down and cup your hand over the dough. Using a circular motion, move the dough gently, creating a ball with some tension in the dough.
- Move your dough ball to your prepared pan, and repeat with the remaining portions of dough until all dough has been shaped.
- Cover your pan and let rise in a warm spot for 30-60 minutes, until dough has puffed up.
- While your bread is proofing, preheat your oven to 350°F.
- When your bread is ready to go in the oven, brush the tops with milk.2 tbsp Milk
- Place your dough in the oven on the center rack and bake for 19-21 minutes. The dough will have risen significantly and be nicely browned on the tops.
- Remove from the oven, and let your bread cool for at least 20 minutes before eating. Store in an airtight container for up to 3-4 days. Enjoy!