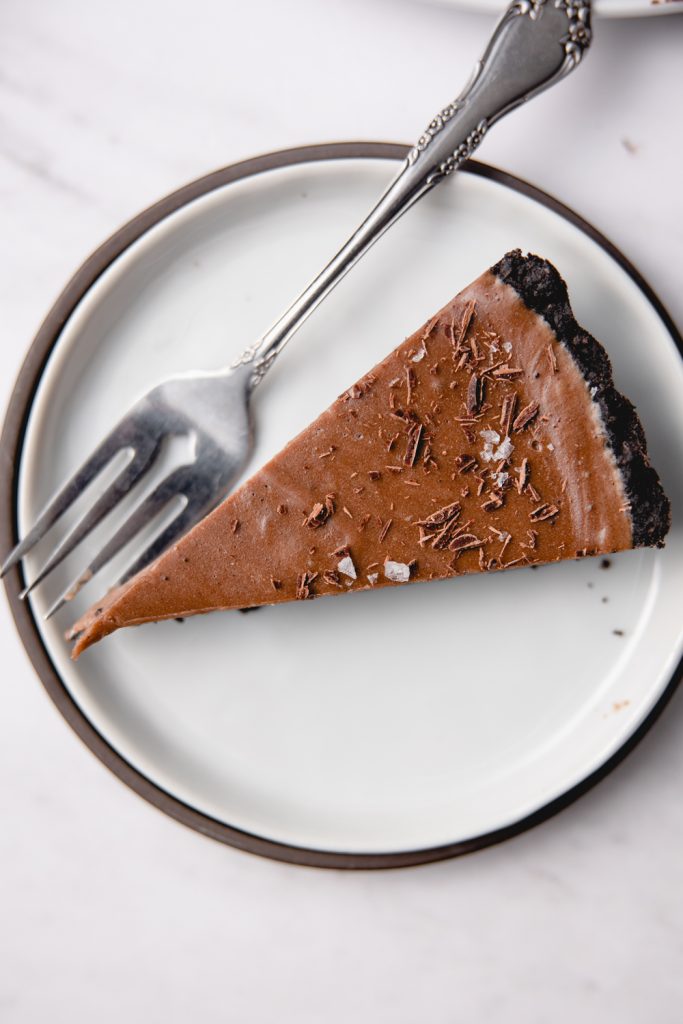
Chocolate Malt Tart
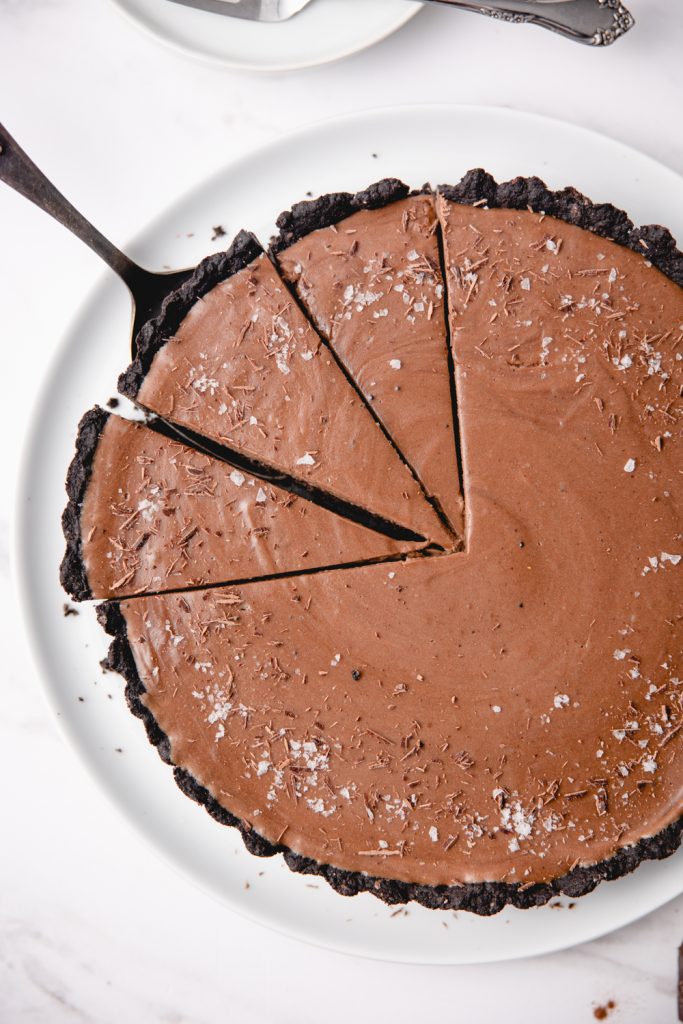
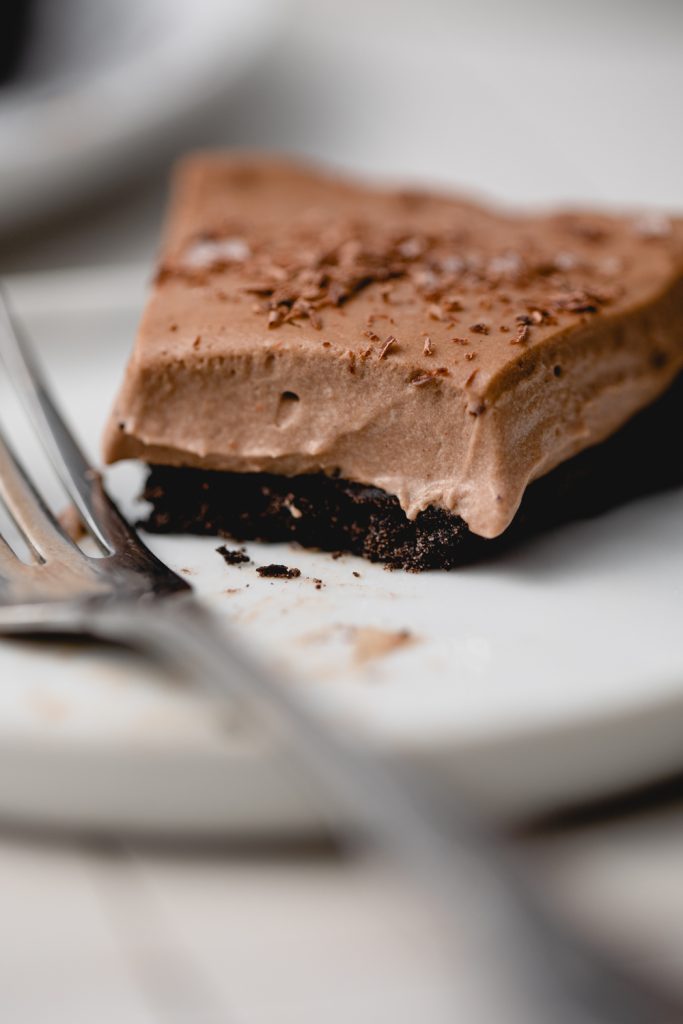
This chocolate malt tart combines a black cocoa shortbread crust, and a chocolate malt diplomat cream to create a luscious yet rich chocolate treat.
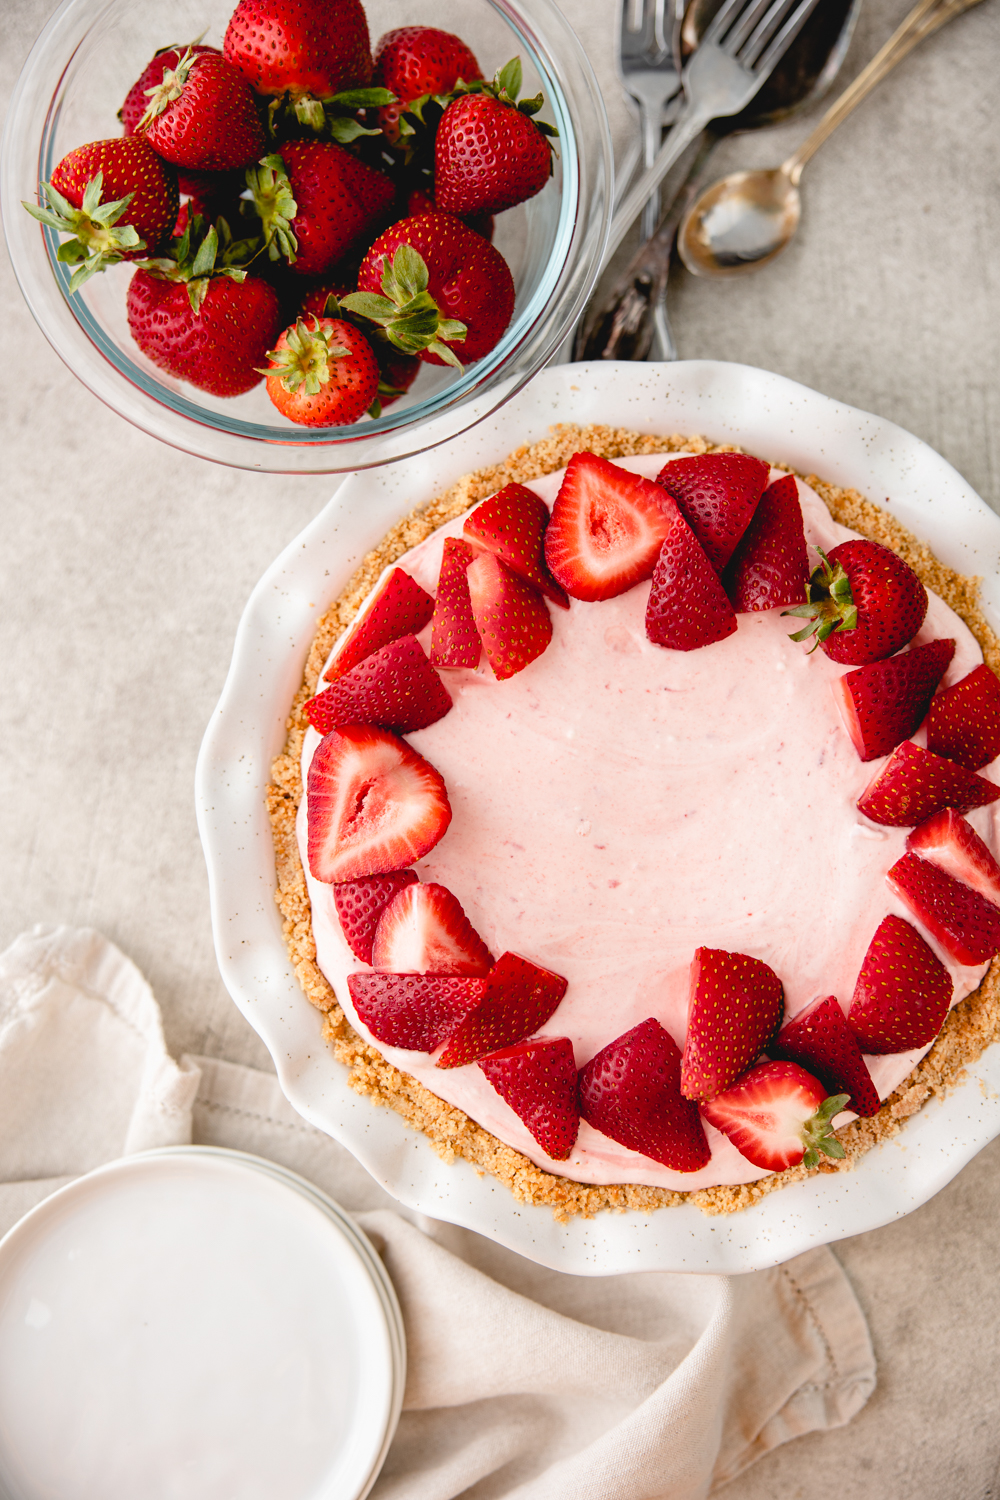
I don’t have a ton of pie and tart recipes on my website. I’m not a huge pie person, but there are exceptions to that. I love a good berry cobbler (not really either pie or tart but definitely the same family), my Balsamic Roasted Strawberry Galette is soo good, and I’m a big pumpkin pie fan.
Chocolate malts are my milkshake of choice. The flavor is much more nuanced than a regular old chocolate milkshake. And I have tried to infuse that flavor into a bunch of bakes, like Chocolate Malt Milk Buns and Chocolate Malt Shortbread Cookies.
Baking Notes & Tips
This chocolate malt tart recipe will have you baking things a little out of order if you’re familiar with baking pies and tarts. Generally, you bake the crust first and then prepare the filling to go inside. Because the pastry cream requires and overnight chilling, you make part of the filling before making the crust. The crust will be one of the last things you do, as the whole tart won’t go in the oven – only the crust.
Pastry cream (and diplomat cream) might sound fancy or difficult but I promise they are pretty straightforward. You will make chocolate malt pastry cream, chill it, then add in a stabilized whipped cream after then put all of it into the baked tart shell.
None of the steps in this tart are difficult, however having all your ingredients ready and prepped in place before starting is important so you can focus on getting the right texture and technique (especially with the filling). Additionally, make sure you sufficiently chill your pastry crème and tart crust before assembling the chocolate malt tart.
This isn’t a recipe you can whip up quickly, and you should plan ahead because it will not be ready until the next day so if you want to have it on Friday evening, you should begin making this on Thursday night into Friday morning. Additionally, this chocolate malt tart could easily become several mini tartelettes if you’d like to create personal tarts. I haven’t tried this, but I’d imagine the crust would be enough for 3-4 mini tarts depending on the size of the tart pans. Or a muffin tin for very small tarts!
This chocolate malt tart after chilling should be a solid but soft texture. If you want really clean slices of the tart, you can pop it in the freezer for about 30 minutes before serving, but it is perfectly sliceable and servable as written. You just won’t get perfect edges mainly at the center of slices.
Chocolate Malt Tart Key Ingredients
- Malted Milk Powder – Malted milk powder should be easily found in the grocery store, often in the coffee aisle near the other creamers and powdered milks. This is the key flavor in a chocolate malt and can’t be substituted. I usually just grab the carnation brand one which is widely available.
- Cocoa Powder – This chocolate malt tart actually uses two kinds of cocoa powder, however if you only have one of the two, it can be substituted for both. I chose to use black cocoa in the shortbread crust as I wanted a rich dark chocolate flavor to boost the overall chocolatiness. Then you’ll use Dutch cocoa in the filling. However, black or Dutch cocoa can be used in both and it will turn out well, just altering the chocolate flavor a slightly.
- Gelatin – The gelatin is used to stabilize the whipped cream so that the filling is a little bit firmer. I recommend using a gelatin strip over the powder, as they usually prevent lumps a little bit better. However, if you use the powder follow the instructions for the amounts of liquid, etc but use the same final amount in the whipped cream.

Ingredients
Pastry Creme
- 2 large Egg yolks room temperature
- 50 g Granulated sugar ¼ cup
- 15 g Cornstarch 2 tbsp
- 150 g Heavy cream ⅔ cup
- 75 g Whole or 2% milk ⅓ cup
- ½ tsp Vanilla
- 14 g Salted butter 1 tbsp, room temperature
- 5 g Dutch process cocoa 1 tbsp
- 16 g Malted milk powder 2 tbsp
Shortbread Crust
- 125 g AP flour 1 cup
- 25 g Black cocoa powder ~scant ⅓ cup
- 55 g Powdered sugar ½ cup
- ¼ tsp Sea salt
- 113 g Unsalted butter ½ cup, melted
- 1 tsp Vanilla
Stabilized Whipped Cream
- 112 g Heavy cream ½ cup, cold
- 14 g Malted milk powder 2 tbsp
- 3 g Dutch cocoa powder ½ tbsp
- 25 g Powdered sugar 3½ tbsp
- 1 Gelatin sheet
- ¼ cup Water warm
Instructions
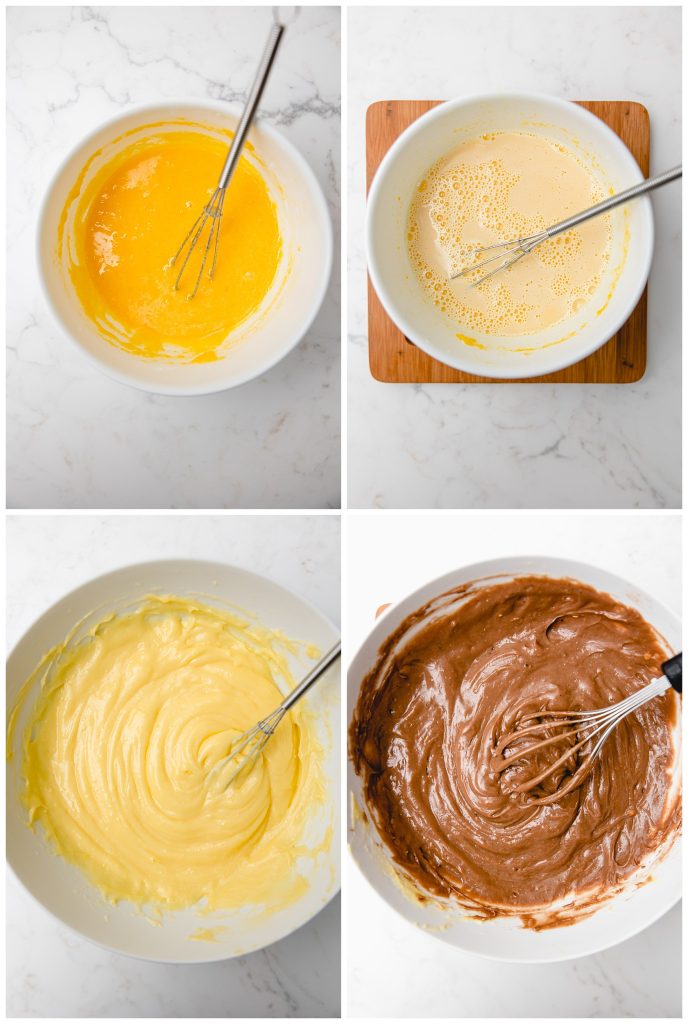
Make the pastry cream
- Sift your malted milk powder and cocoa powder into a small bowl and set aside.
- In a medium bowl, add your egg yolks and sugar and whisk together.
- Add the cornstarch and mix in, then set aside.
- Over medium to medium-low heat, heat your milk and cream together, stirring or whisking lightly to prevent a skin from creating on the top. Bring to a low simmer.
- When the liquid has begun a low simmer, SLOWLY pour about ½ into your egg mixture, making sure to continually whisk while adding the milk and cream and then continuing to do so until they have become cohesive. This is tempering the eggs so they do not scramble when you add the rest on the stovetop.
- Place the remaining half of cream and milk back on the stove top, and pour your egg and cream mixture into the pot. Whisk while you bring your pastry cream to a low boil (about 2 minutes) then remove from the heat and keep whisking.
- Keep whisking your pastry cream until it becomes smooth. It might appear lumpy or a little grainy at first but just keep whisking until it becomes a smooth pudding like texture.
- Add in your butter and whisk it in until it's fully incorporated into the pastry cream.
- Add your malted milk and cocoa powder into the pastry cream and mix until smooth.
- Using plastic cling wrap, lay it directly on top of the pastry cream to prevent a skin from forming and place the bowl in the refrigerator to chill overnight.
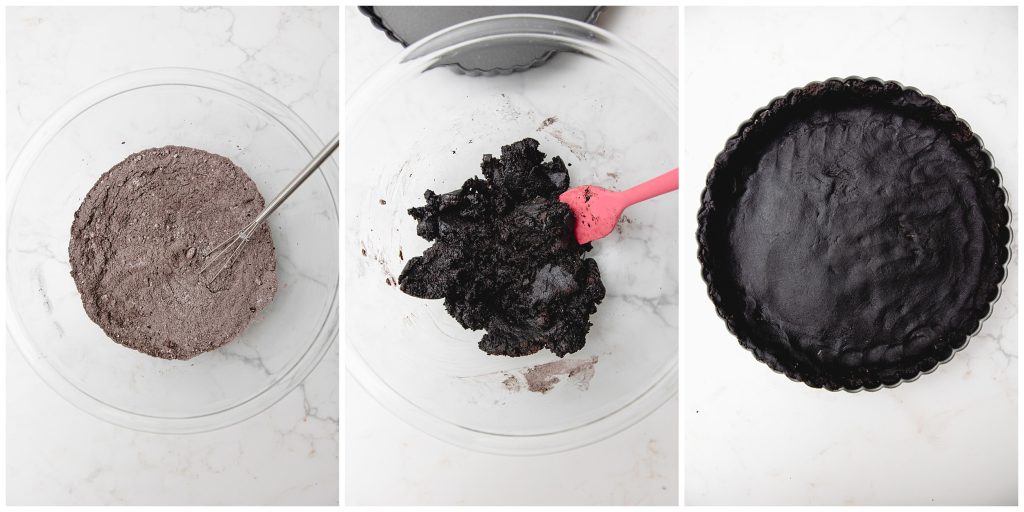
Make the tart crust
- Make your tart crust after your pastry cream has been chilled for at least 8 hours.
- In a medium bowl, add your flour, black cocoa, sugar and salt and whisk together.
- Pour in your melted butter and vanilla and use a rubber spatula to mix together until a thick dough comes together.
- Press into your tart pan creating an even layer on the bottoms and sides.
- Place your tart crust in the refrigerator to chill for about 30 minutes. Preheat your oven to 350°F while your crust chills. Chilling your crust will help prevent the crust from shrinking as much.
- When your oven is ready and your crust has chilled, bake in the oven for about 20 minutes. The crust will be fragrant and look drier than it did going into the oven.
- Let your crust cool to room temperature before adding the filling.
Make the stabilized whipped cream
- Pour your heavy cream into a bowl large enough to whip the cream in. Add your cocoa powder, malted milk powder and powdered sugar and whisk together by hand.
- Remove about 1-2 tbsp of the heavy cream mixture into a small glass or measuring cup and set aside.
- Place your bowl of heavy cream in the refrigerator to chill while you get the gelatin ready.
- Bring a small sauce pan to a simmer for a double boiler.
- Cut your gelatin strip and place in water to dissolve. Because you aren't using very much gelatin, I chose to only use half the gelatin strip. So the strips I used said 1 strip should be dissolved in ½ cup of water. So I cut mine in half and used ¼ cup of water. If using the same brand, follow those measurements but if you are using a different brand – follow the directions you have for it. We will only need less than 1 tbsp of gelatin once it's prepared though.
- After 10 minutes the gelatin should be somewhat dissolved but not completely. Move the bowl to over the small saucepan to completely dissolve the gelatin. Stir while this happens, should take about 2-4 minutes but remove when the liquid just looks like water.
- Measure out 1 tbsp of the gelatin and add it to the heavy cream you portioned out of the bowl and stir together.
- Remove your bowl from the refrigerator, and begin whipping the heavy cream. After 30-60 seconds after your cream has slightly thickened, pour cream-gelatin mixture into the cream while the mixer is going.
- Start on low and moving up to high slowly whip the cream into stiff peaks. Take care to not overwhip your cream and split it. When it gets to medium peaks I find it easiest to slow the mixer down or hand whip the final whipping.
- Once your whipped cream has hit stiff peaks, you are ready to assemble your tart.
Assemble Tart
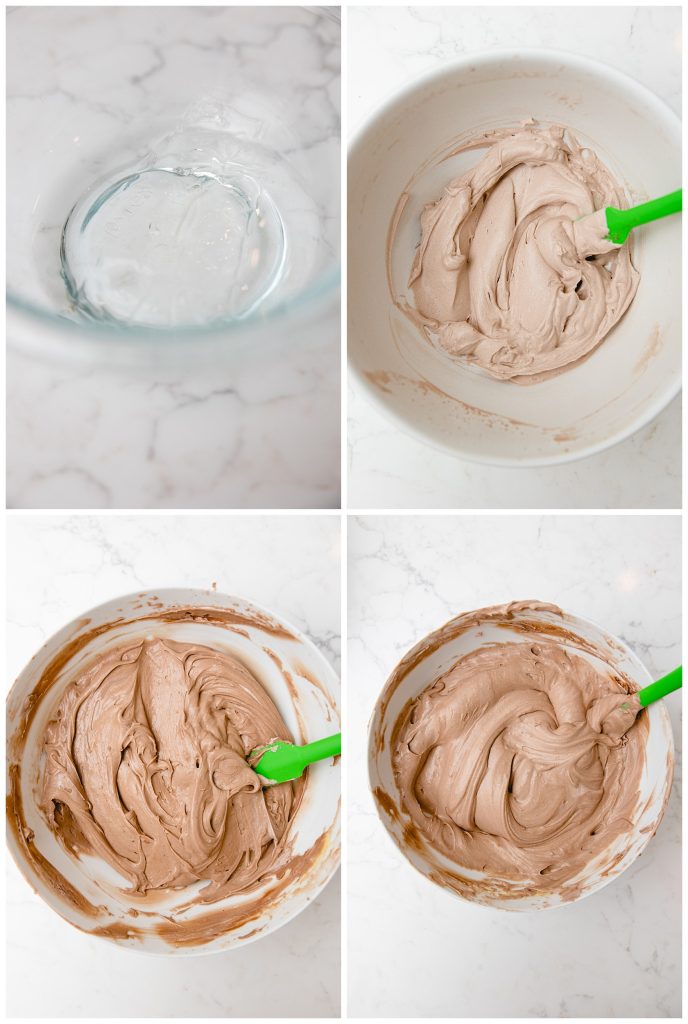
- Remove your pastry cream from the refrigerator. It should be a thick consistency. Use your hand mixer to mix it for about 20-40 seconds on low just to get it creamy.
- Add about ⅓ of your whipped cream into the pastry crème and mix with the hand mixer until combined.
- Add the rest of your whipped cream in and fold in with a rubber spatula by hand until smooth and creamy.
- Scoop your tart filling into the shell and smooth out with a rubber or offset spatula.
- Refrigerate your tart for at least two hours to let the gelatin to set completely before serving.
- Tart will keep in the refrigerator for 2-3 days. Enjoy!