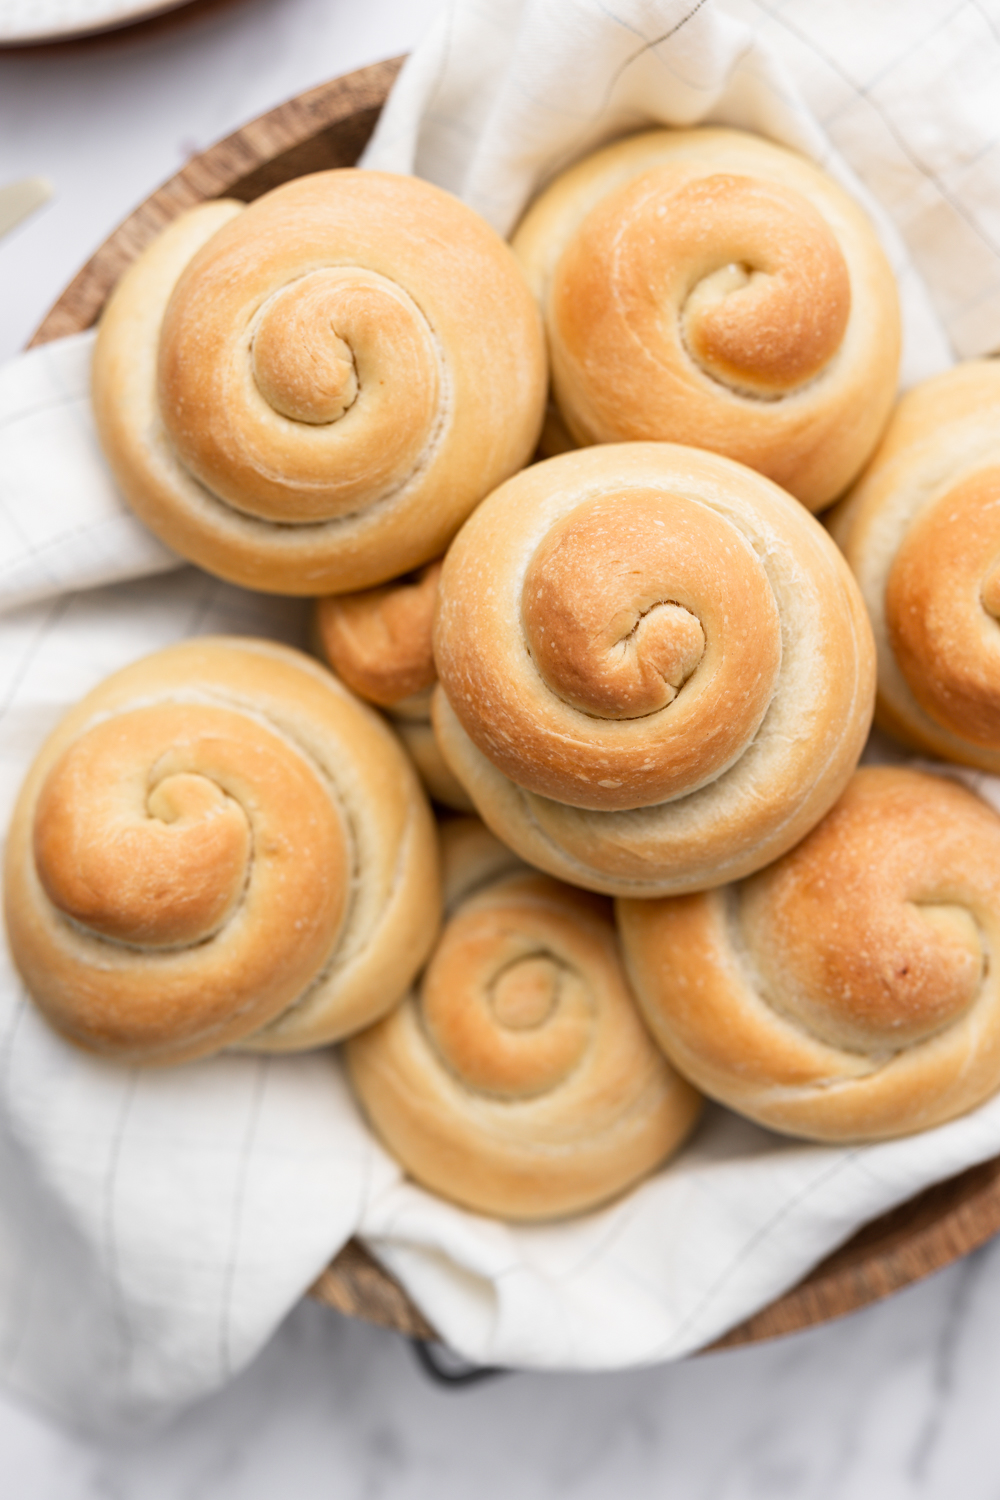
Fluffy No Knead Dinner Rolls
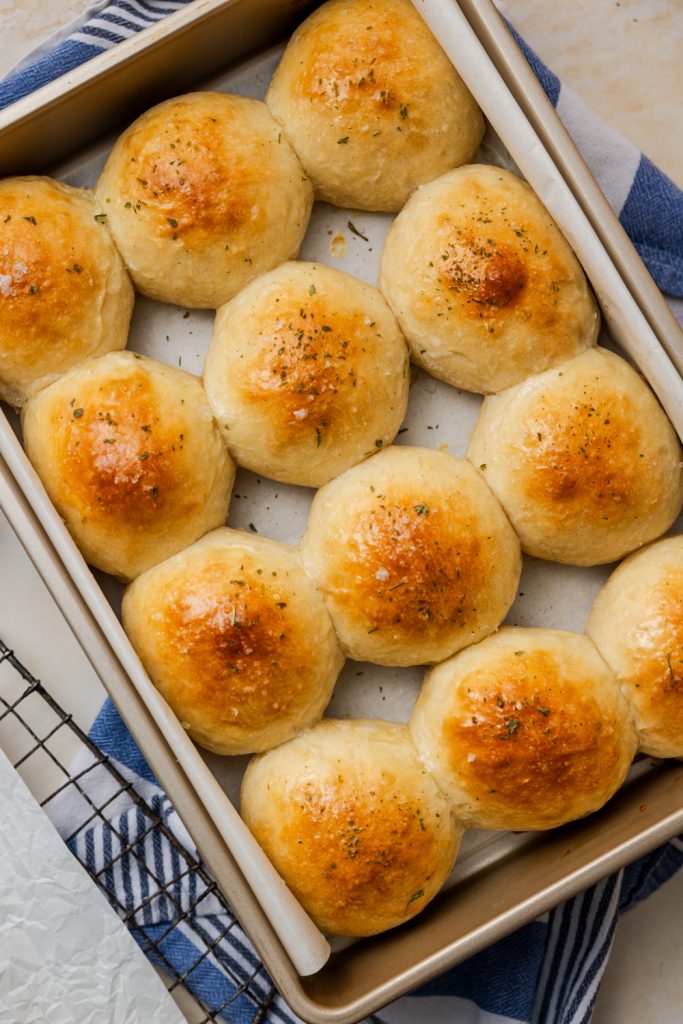
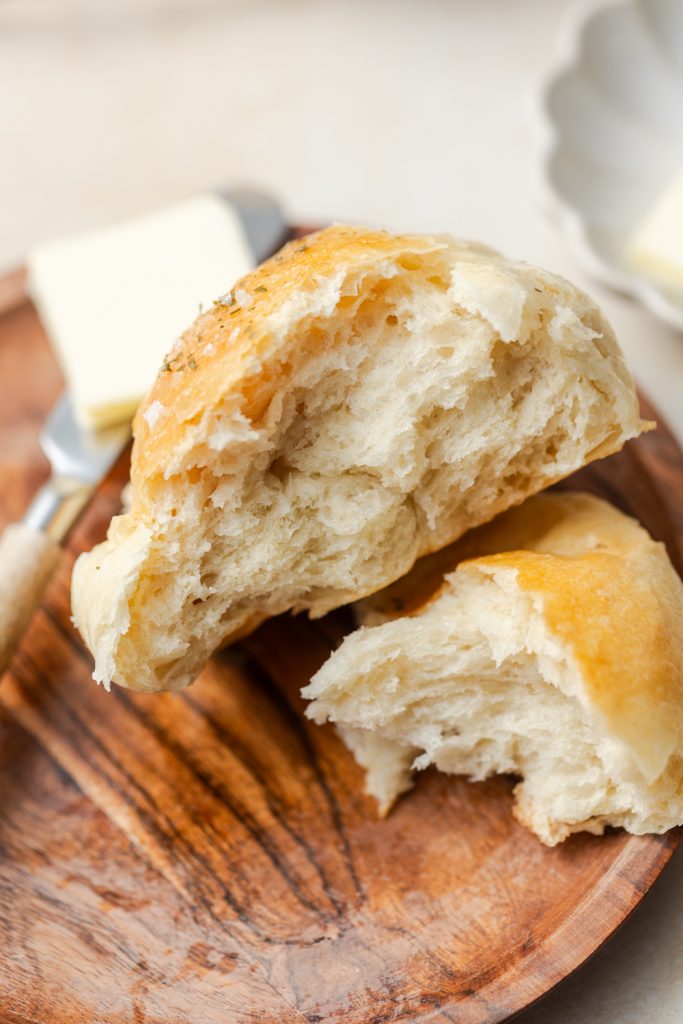
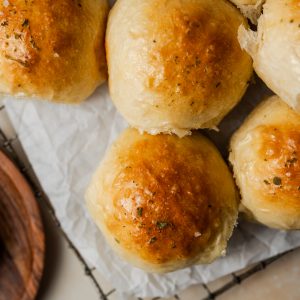
No knead dinner rolls are just that: easy, fluffy dinner rolls with no kneading required. Top with butter and enjoy ultra soft and fluffy bread with your meal.
I don’t think there is a dinner roll that I don’t enjoy. It’s why I have so many different recipes on my site. But, some of my favorites are super soft and fluffy ones like my Super Soft Milk Bread Buns. There’s not much better than an ultra soft little cloud pillow that’s also super delicious. While I love milk bread, it can take a few tries to get the hang of it. So I wanted to create a super simple dinner roll recipe that would be somewhat similar with less work.
Now, while these no knead dinner rolls truly are no knead – just stir the dough together and wait – you DO have to shape them. If you don’t feel quite ready to do the shaping of dinner rolls, I’d recommend something like my Easy White-Wheat Dutch Oven Bread which requires no kneading, and basically no shaping. Or my Overnight Focaccia which requires no kneading, and you only have to dimple the dough. But I promise, shaping these dinner rolls won’t be hard and the result is fantastic!
Baking Notes & Tips
Any dough that isn’t kneaded is going to probably a little bit more sticky than a dough that has spent a lot time being kneaded. That’s okay though! When you are shaping your rolls, it will be helpful to use a very small amount of flour if your dough is really sticking to your workspace, but when you are creating tension in each roll you will want to use part of your counter that does not have flour or isn’t greased so that the dough CAN sort of stick and create that tension.
The brushing the tops with milk before baking is not required, however it will give the tops of your rolls much better color and a little extra flavor.
No Knead Dinner Rolls Key Ingredients
- Bread flour – Bread flour is going to help give your rolls a little more structure and lift which is a plus because kneading the dough (which creates gluten) helps with that as well but we aren’t doing that in this recipe. I always use King Arthur Bread Flour because it has a great protein percentage and it’s SUPER consistent. You probably can make this with all purpose flour just fine, however I did not test with that. The dough may be a little extra sticky if you choose to use AP.
- Water – Water is the main source of hydration for this dough. Simple and easy, just make sure your water is warm – but not too hot, so that the dough doesn’t take longer to rise.
- Butter – I added a little bit of butter to the dough for flavor and texture, and the tops are brushed with butter after baking for extra deliciousness. I ate these without adding butter when cutting them open due to the brushed butter on top.
Ingredients
- 540 g Bread flour 4½ cup
- 15 g Sea salt 1 tbsp
- 4 g Instant yeast ½ tbsp
- 270 g Water 1 cup + 2 tbsp, warm
- 42 g Honey 2 tbsp
- 57 g Whole or 2% milk ¼ cup, warm
- 28 g Unsalted butter 2 tbsp, melted
- 14 g Whole or 2% Milk 1 tbsp, for brushing
- 14 g Salted butter 1 tbsp, for brushing
Instructions
- In a large bowl, add all your dry ingredients and mix together.540 g Bread flour | 15 g Sea salt | 4 g Instant yeast
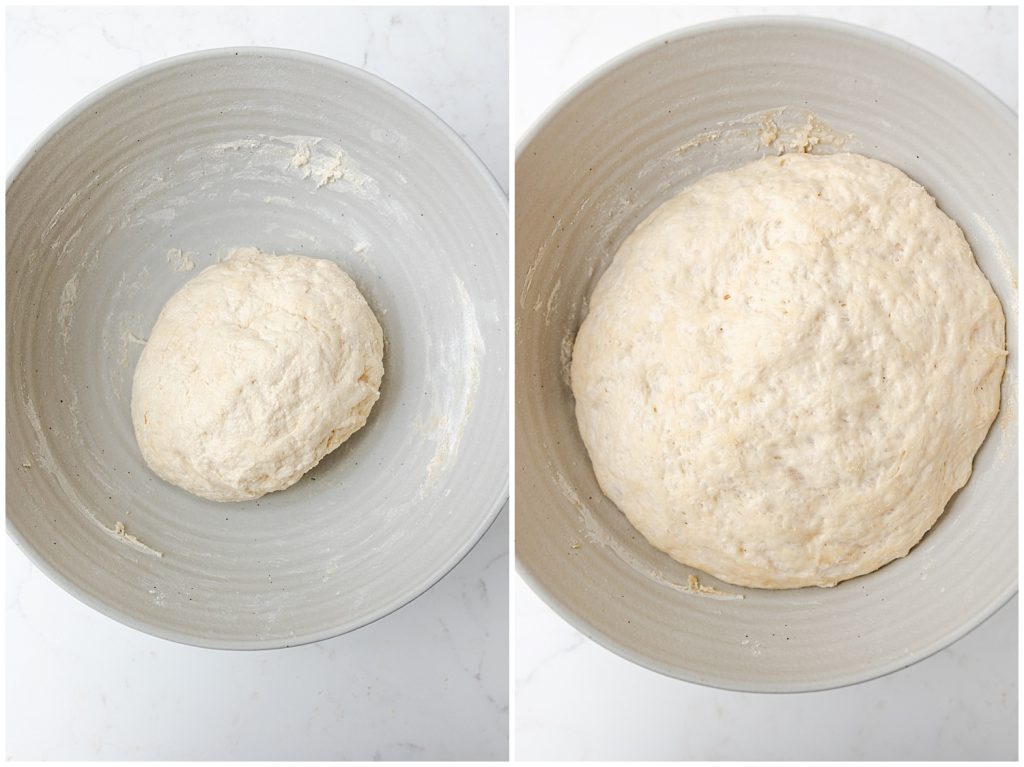
- Add your wet ingredients and stir the dough with a dough whisk or wood spatula until a dough forms.270 g Water | 42 g Honey | 57 g Whole or 2% milk | 28 g Unsalted butter
- Cover your bowl, and leave to sit in a warm place for 2-4 hours or until your dough has doubled in size.
- Line a 9×13 inch pan with parchment. Set aside.
- Punch down your dough and remove from the bowl onto a lightly greased or floured surface.
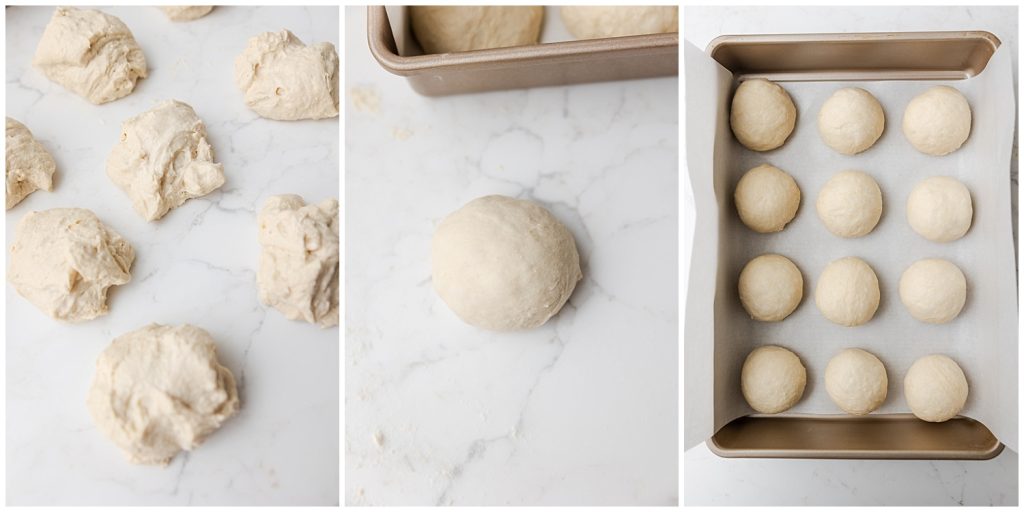
- Divide your dough into 12 equal portions. If you would like your rolls to be exact, weigh the dough before dividing to find out how much each portion should weigh. If this isn't important, eyeballing is fine.
- Take a portion of the dough and fold the edges into the circle, pinching together to create a ball shape. Flip the dough over so the pinched seam you just created is against your work surface, then cup your hand over the dough. Move your hand in a circular motion, the dough should move with your hand but drag a little on the counter, creating tension in the dough. Move your dough ball to the prepared pan, and repeat with all the remaining portions of dough.
- Cover your pan with your dough and allow to rise again for 30-60 minutes or until the rolls have puffed up.
- While your dough proofs, preheat your oven to 350°F.
- When the rolls are ready to go into the oven, brush the tops with milk.14 g Whole or 2% Milk
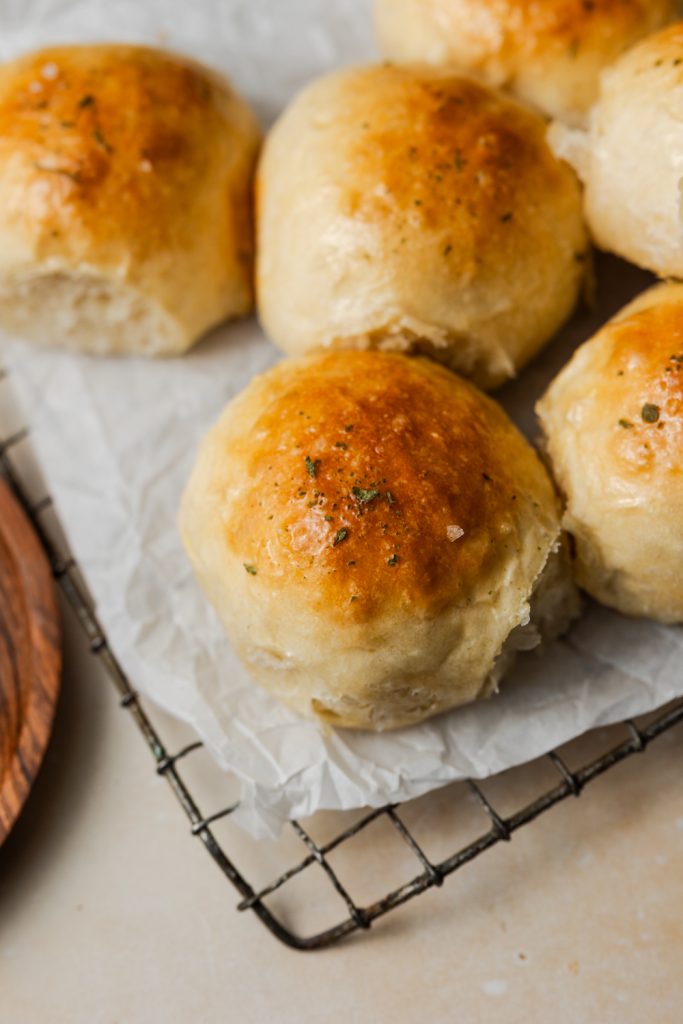
- Bake your rolls on the center rack of your oven for 22-25 minutes or until the tops are nicely golden brown.
- Remove your rolls from the oven and allow to cool for about 5 minutes, then brush the tops with melted butter. Allow the rolls to cool for at least another 5-10 minutes before enjoying.14 g Salted butter