Soft Sugared Milk Buns
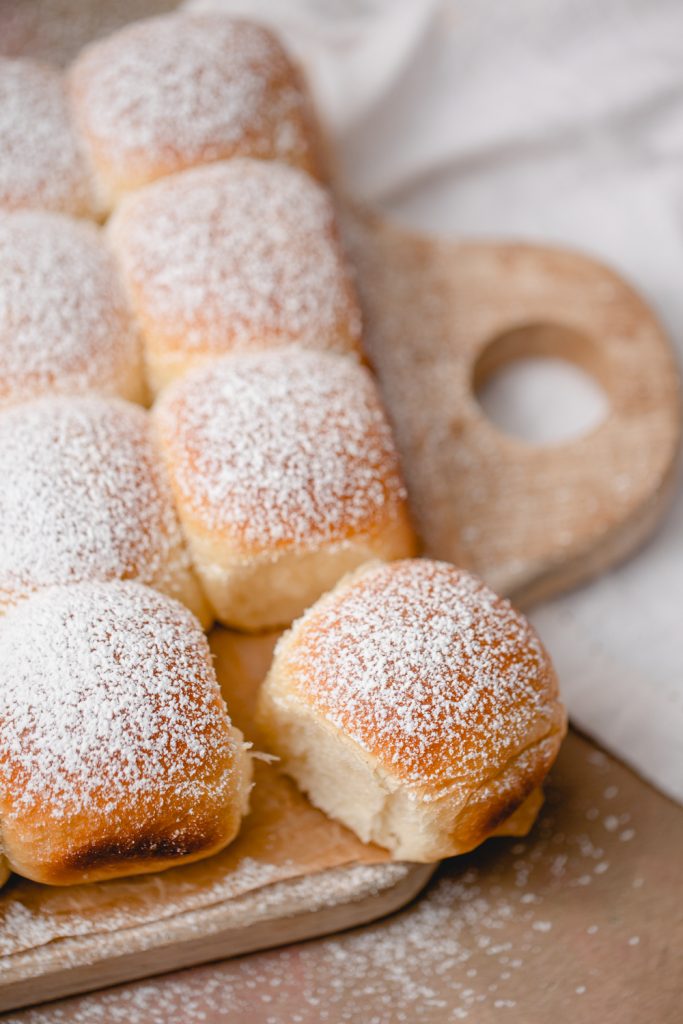
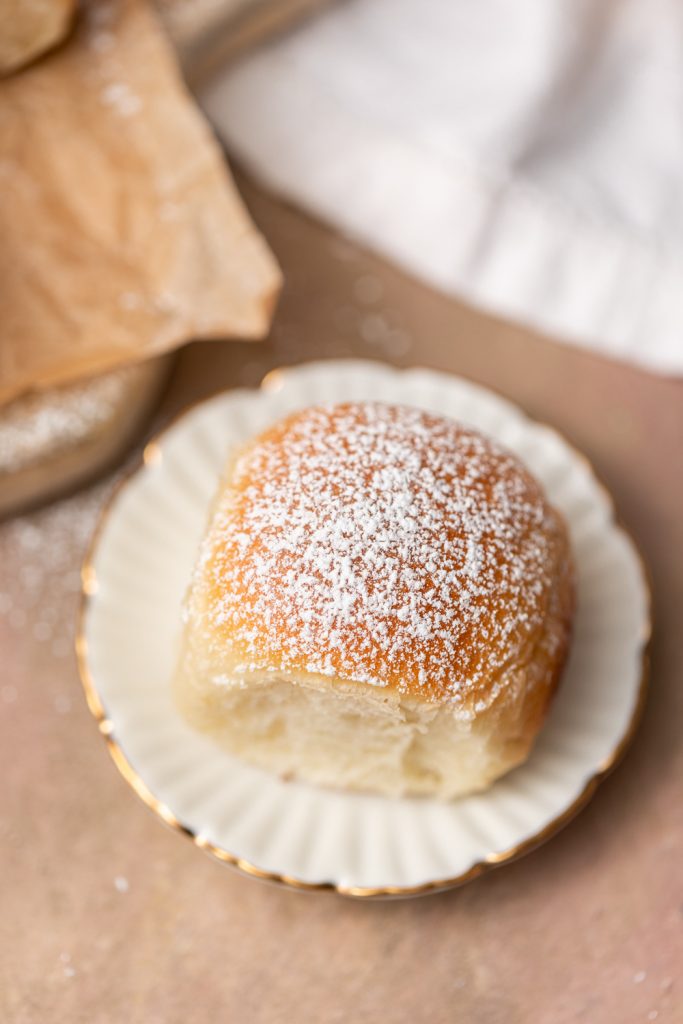
These sugared milk buns are the sibling of my super soft milk bread buns, but are more of a dessert bread. Soft and sweet and addictively good.
I love a dessert bread. I also love milk bread. I’ve made dessert focaccia and I’ve actually made chocolate milk bread but I wanted to make something a little closer to regular milk bread. Japanese milk bread as it is, is a little bit sweet. I wanted to experiment and see what would happen if I added more sweetness though.
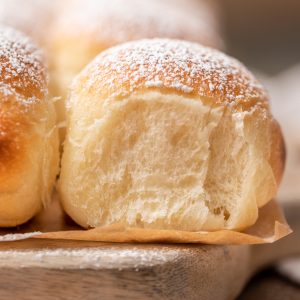
I started with my Super Soft Milk Bread Buns recipe and added some additional sugar. The recipe as it was, is 10/10 no notes. But to make these sugared milk buns, we gotta add some more sweetness. It’s not an overwhelming amount of sugar in the dough but compared to a traditional bread recipe, it’s a lot. The result is sweet, but not overly sweet bread. It’s not like eating a donut, but it’s definitely much sweeter than traditional milk bread.
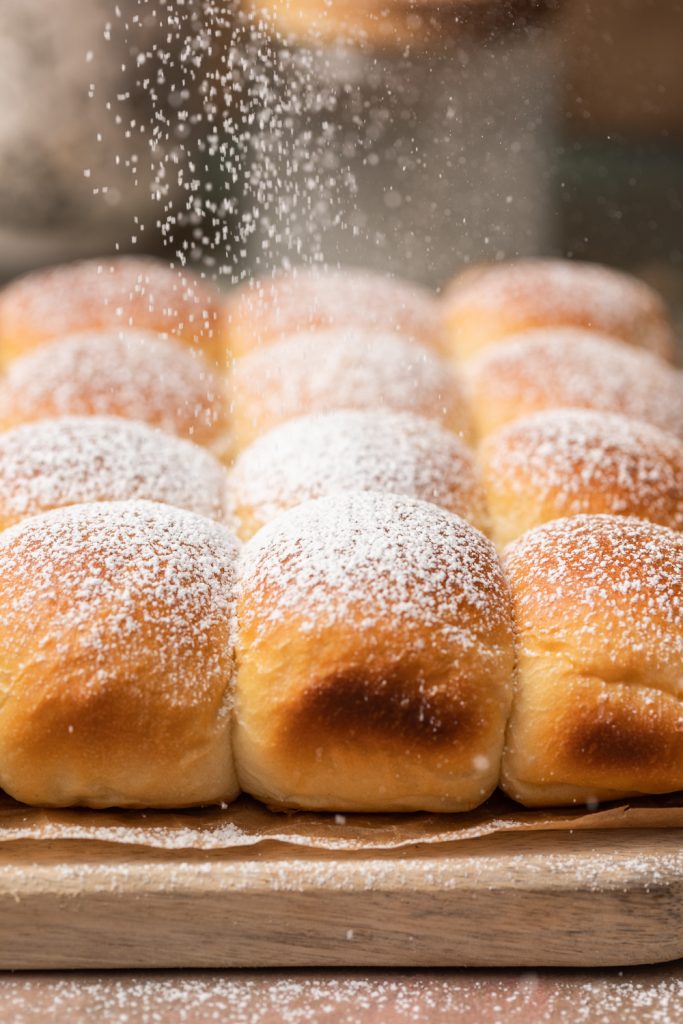
Then the dough is brushed with milk like always before baking but also sprinkled with granulated sugar. Then after baking they are liberally dusted with powdered sugar.
Baking Tips & Notes
The main tip I can give when making milk bread is kneading the dough for a sufficient amount of time. I let my mixer go for sometimes 20 minutes after the butter has been incorporated in. This makes the texture of the bread. Will it be delicious if you don’t knead it enough? Yes. But will it have that signature milk bread texture? No, not really.
Adding sugar to dough does a few things. First, it obviously sweetens the bread which in this recipe is the main goal. However, sugar while it does feed yeast is hygroscopic which means it attracts water molecules. This can slow down the yeast as it leaves it feeling a little thirsty. It also bonds with starch, which slows down yeast as well. Now, this is fine but you will need to leave a little more time for the dough to proof than a standard dough. Also, because you are adding sugar after brushing with milk, make sure to use parchment to keep the bread from sticking to the sides of the pan.
Because this is a dessert recipe, I chose to make the sugared milk buns smaller than I would a dinner roll. I divided the dough into 16 portions instead of the 9-12 I would with the same amount of dough in a dinner roll recipe. If you would like to make larger buns you definitely can, but you may need to add just a few minutes to the bake time. I recommend a 9×9 pan as this will let the buns smoosh up against each other while baking and make sure they are super soft. I have and use this one most of the time, however these ones from King Arthur, OXO, and USA Pan would be good options too.
Sugared Milk Buns Key Ingredients
- Granulated Sugar – Granulated sugar is used in both the bread dough and the topping before baking. I only used a third of a cup in the dough as I didn’t want to to turn this bread into a donut recipe. The sugar topping and then the dusting of powdered sugar help elevate the sweetness a little more as well.
- Milk – Milk is obviously important in sugared MILK buns. Milk in bread compared to water creates a much more tender and flavorful bread. They help with the Mailliard reaction, helping the bread keep a little longer and adds subtle sweetness. Use either whole or 2% milk.
- Baker’s Dry Milk – I have made milk bread many many times. I have both had this on hand and not when baking, but I will say the times I use it I definitely notice it’s presence in the dough. It’s extra soft and tender. It’s still very soft and great if you don’t have it but there’s a noticeable difference with it. Make sure to use non fat dry milk and not whole milk powder. I have used both of these when baking: King Arthur and Judee’s.
This page contains affiliate links for products I use and love. If you choose to purchase directly from clicking a link, I may earn a small commission, however I am not being paid to link to these items.
Ingredients
Tangzhong
- 15 g Bread Flour ~2 tbsp
- 80 g Whole or 2% Milk ⅓ cup
Dough
- 315 g Bread flour 2¾ cups
- 67 g Granulated sugar ⅓ cup
- 8 g Instant yeast 2½ tsp
- 15 g Baker's dry milk 2 tbsp
- 6 tsp Sea salt 1 tsp
- 1 large Egg room temperature
- 120 g Whole or 2% milk ½ cup, warm
- 42 g Unsalted butter 3 tbsp, softened
- 1-2 tbsp Whole or 2% milk for brushing
Instructions
- Prepare the tangzhong. Mix together, 15g flour, and 80g of milk in a small saucepan. Put the saucepan over medium-low heat and whisk constantly. When the whisk starts to leave trails where you can see the bottom of the pan, it is done. Transfer to a small bowl and allow to cool.
- In the bowl of your stand mixer with your dough hook attached, add flour, baker's dry milk, yeast, salt, sugar, egg, milk, and tangzhong. Mix on low until a shaggy dough forms.
- Stop the mixer, cover the bowl for 10 minutes and allow the dough to rest.
- After 10 minutes, one tbsp at a time, add softened butter. Let butter fully incorporate into the dough until adding the next. For me it generally takes about 5-7 minutes to add all the butter and for it to be mostly incorporated.
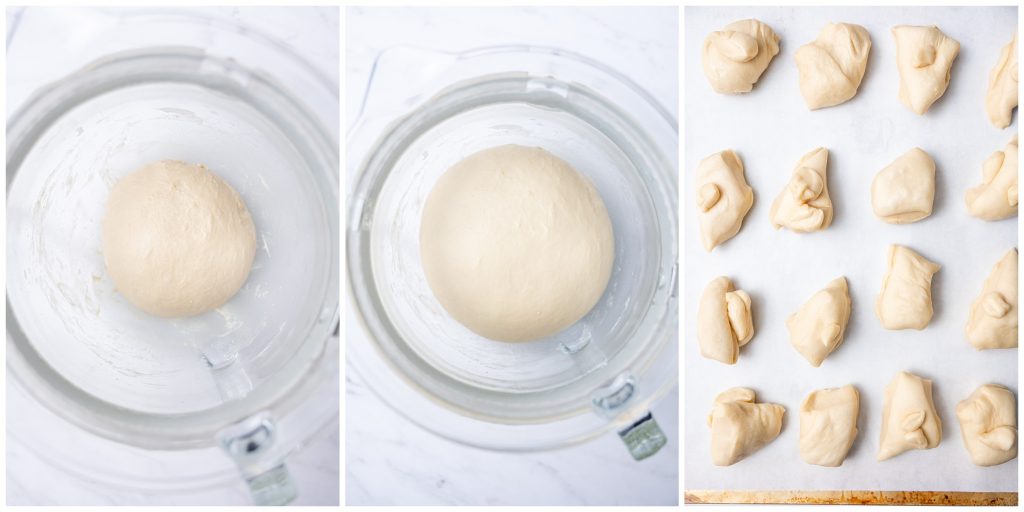
- Knead dough on low until dough is very smooth and no longer sticking to the sides. The dough will be tacky but also smooth and very elastic, passing the windowpane test. Kneading time beyond the butter stage is usually about 15-20 minutes.
- When dough is ready, place in a lightly greased bowl and cover. Allow dough to rise for 1.5-2.5 hours or until doubled in size. If your kitchen is cool, Find a warm spot like on a sunny window sill, or in the oven (the oven should be OFF) with the oven light on. Because this dough has a fair amount of sugar, it will rise a little slower.
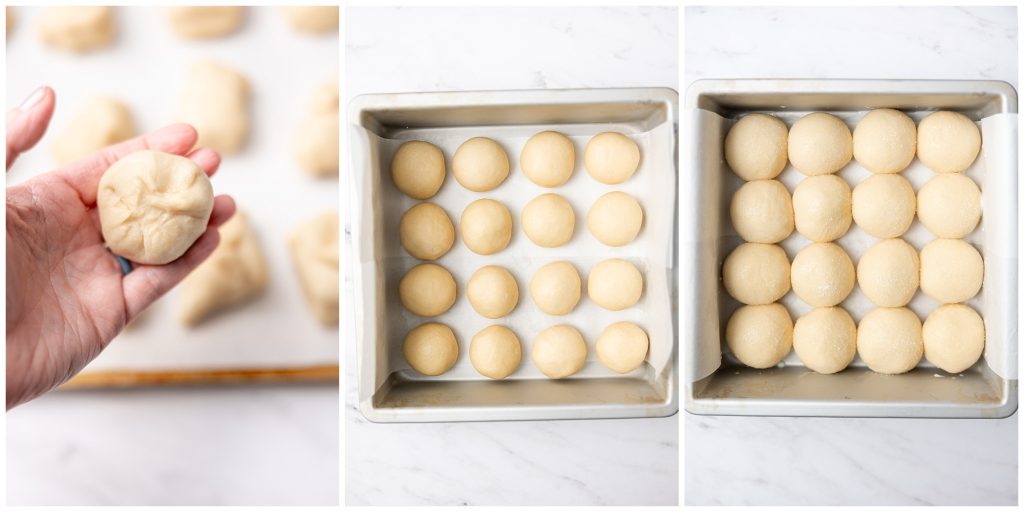
- Prepare a pan with parchment. I would recommend using a 9×9 pan to get the best texture on these.
- Punch down the dough and remove it from bowl. Divide dough into 16 pieces. Weighing your dough before you begin dividing will give you the most uniform size buns, but it is not required.
- For rolls: Take each piece of dough, holding it in your palm and fold the sides into the center, creating a ball shape. Pinch the bottom pieces together. Then place the dough ball seam side down on the counter. Cup your hand over the dough and use a circular motion to further round out and create tension in the dough.
- Place dough ball seam side down into the prepared pan. Repeat with remaining pieces of dough, spacing out evenly.
- Cover the pan and allow dough to rise again for about another 45 minutes-1 hour, or until dough has puffed significantly.
- About 20 minutes (more or less depending on your oven) into the second proof, preheat your oven to 350°F.
- When buns are ready, brush the tops with 1-2 tbsp of milk, then evenly sprinkle with the 2 tbsp of granulated sugar. Place on the middle rack of your oven and bake for about 18-22 minutes or until buns are golden brown. A thermometer inserted into the bread should read 190°F.
- Remove the bread from the pan to a wire cooling rack within 5-10 minutes. Let bread cool at least 30 min before eating. Store in an airtight container and best enjoyed within 24 hours but will keep for 3-4 days. Enjoy!


gorgeous
I made these according to recipe and they turned out great. I found that I had to add about a cup of extra flour to get the bread to come together. they still got light and fluffy though!