
Bread Baking 101 – Bread Baking Tips & Tricks

Table of Contents
Let’s be bread baking babes
Bread is relatively simple. Flour, salt, water and yeast are the four main ingredients that make the dough. Some doughs will use things like sugar or eggs or olive oil, but a LOT of breads are made with these four simple and fairly inexpensive ingredients. You can make pretty fancy breads with just those ingredients as well. Sometimes, as in life, less is more. This post is full of bread baking tips to help you feel comfortable and knowledgeable on your bread baking journey.
Lots of people are intimidated by baking bread. I know before I tried it for the first time, I was! But the honest truth is that it is much simpler than you would think. The main thing with bread baking is patience. Patience and planning ahead. Most good breads you can’t start an hour or two before dinner and have them on the table with your pasta.
I’m not saying it’s impossible, but lots of recipes require anywhere from 4-24 hours to make a loaf of bread. Most of that time, you aren’t doing anything! So don’t look at a recipe and think 22 hours?? I don’t have that kind of time! Because there may only be an hour or less of hands on time.
Types of yeast
Before I started baking bread, yeast was the scary ingredient to me. I had never used it, and despite being a confident baker and cook, I thought using yeast would difficult. What even is yeast?? Yeast is a living microorganism that feeds on sugars to grow, which produces carbon dioxide. This makes the bread rise and create the crumb (texture) of the bread. In things like muffins we use baking soda or powder. In other types of bread, yeast is doing the same thing.
Active Dry Yeast – This type of yeast has larger granules than instant. It needs to be activated by adding it to water until it blooms before adding it to your dough mixture.
Instant Yeast – Instant yeast can be added directly to your flour mix without activating it first. It generally has a slightly faster rise time than active dry.
Fresh yeast – Fresh yeast is exactly what it sounds like: not dried. You have about two weeks to use fresh yeast before it expires. This is most likely much more difficult to find in a regular grocery store.
Instant and active dry yeast, more or less are interchangeable. It’s not always a one for one swap though so if you are swapping them check the recipe or it’s notes to see if you need to adjust amounts. It will vary according to who developed the recipe. I find it much more economical to buy larger quantities of yeast and store them in the freezer than to purchase the little envelopes.
You can store yeast in the freezer for about a year or the refrigerator for about 6 months. If you want to use yeast been stored somewhere cold, measure out what you need and let it come to room temperature before you use it. When you aren’t sure if your yeast is still alive, add it to water and if it blooms you’re good to go. If not, it’s dead and you won’t get any rise out of your bread.
Types of flour
- All purpose flour 9-12%
- Bread flour 12-14%
- Whole wheat flour 11-15%
- Pastry flour 8-9%
- Cake flour 5-8%
- Self Rising flour 8.5%
- Specialty flours – Durum, Rye, Semolina, 00, Gluten free, Spelt, etc.
One of the big differences in flour is the protein content. There are many differences, but for bread making the protein content is important. A higher percentage means a stronger flour, and better gluten forming capability. This is why you want higher protein for things like a loaf of ciabatta and much lower for something like cake.
Can you make bread with all purpose flour when the recipe calls for bread flour? Most likely yes. Sometimes the difference is negligible and you won’t be able to tell. Sometimes there will be slight differences in the texture, mainly bread made with AP will be slightly softer whereas bread flour will have more chew.
What brand of flour you use sometimes will have a slight difference on your bake. Different brands have slightly different protein levels. For example, King Arthur all purpose has a protein level of 11.7%, Gold Medal has 10.5%. Some people just buy what’s on sale and some people are very brand loyal. Personally, I love King Arthur and I almost buy their flour exclusively. It has always performed the best in my recipes and I think they have great quality, quality control, and their employees have always been SUPER helpful. I suggest trying different brands though and decide what works best for you and your kitchen.
Kneading the dough
Kneading dough is generally an important step. It helps create the gluten network, which allows the dough to trap air and creates the crumb of your bread. Some breads don’t require as much kneading, as time does the work. Some breads require much more hands on time to get the gluten going.
When I write a recipe, rarely will I ever tell you how long to knead the dough. Most recipes that tell you a certain amount of time will leave you with under-kneaded dough. Will your bread turn out if it’s not been kneaded properly? Probably. Will it be the BEST version of what it could be? Probably not.
I don’t tell you how long to knead dough for a multitude of reasons:
- It depends on your method – Are you kneading by hand or by stand mixer or by bread machine? All of these will generally require different lengths of time for kneading dough.
- It depends on your machine – How powerful is your mixer or bread machine? Is your mixer calibrated and properly mixing dough? Low on one mixer may be medium on another.
- It depends on the humidity of where you are – Drier climates often require dough to have a little bit extra water, or more humid places a little less. How hydrated your dough is will create differences in the length of time you need to knead.
So, I often will let you know how the dough should look and feel. But the length of time? It’s done when it’s done. The more you make bread, the more familiar you will get with dough and you’ll know how long it will take. Many doughs will tell you to knead until it’s smooth and soft, or until it is no longer sticking to the bowl. While these can be great indicators, they aren’t always done even at that stage.
Windowpane is a stage of dough readiness where your gluten network has been formed and is quite strong. Essentially you take a piece of the dough about the size of a golf ball and slowly stretch it out. You want the dough to be see through, where light is coming through without ripping. Some doughs won’t reach windowpane, or it’s not necessary, but reaching windowpane or close to it is great way to know your dough is properly kneaded. Personally, I knead most doughs between 20 and 40 minutes, alternating between the mixer and hand kneading. It sounds like a long time but the end result is worth it.
Proofing
So most bread has a period of time called proofing. This is the time where the dough rests and the yeast gets to work chowing down on the carbohydrates in the dough and expelling carbon dioxide creating gas which leavens your dough. Fermentation is happening, just like in alcohol.. takes some time but the end result is worth it. Time = flavor. How long your dough needs to proof depends on a lot of different things.
- The amount of yeast in your dough. More yeast, means more gas which means a quicker rise.
- How much salt is in your dough. Salt and yeast are enemies, and unfortunately salt is the boss. He will kill your yeast if given the chance and enough strength. But not enough, your bread will not be flavorful.
- How much fat is in your dough. Enriched doughs, doughs with things like eggs, butter, milk, sugar are much higher in fat, which slows yeast down. The fats coat the gluten and it slows the party down. If your dough has too much fat and your dough won’t rise.
- Air temperature. Yeast is like goldilocks, and she likes it just right in temperature. About 72-76 degrees is perfect. When the air is cold, it will slow down the rise. If it’s too hot, your bread will rise very quickly, and while you get bread sooner it often will not have a complex flavor.
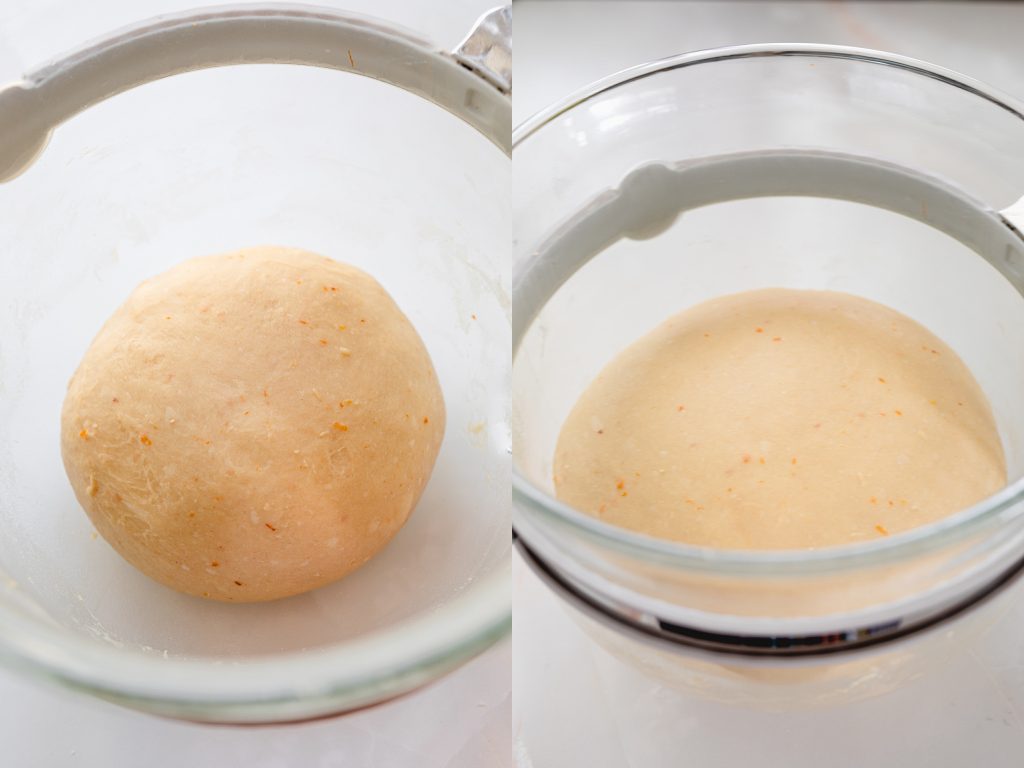
Almost all breads have two rises as well. The first rise, often called bulk fermentation, is usually longer than your second rise. This is because the bulk of the work is being done in the first rise. The second rise is after the dough has been shaped.
Many recipes will give you a sentence like “let dough rise for 2 hours or until doubled in size”. The second part of that sentence is the important part. Two hours is a good estimate, but your circumstances may be different than the baker who developed the recipe. They may have developed it in summer and you are baking it in winter. Your house may be much colder and it may take longer than two hours.
With dough you want to pay more attention to the look of the dough than the time. The more bread you bake you will be able to look at it and say, yep, that’s done proofing. If I’m making a recipe I haven’t made before, I will always check the dough about halfway into the period of time stated. It will let me know if it’s progressing nicely or maybe it’s going to need less or extra time.
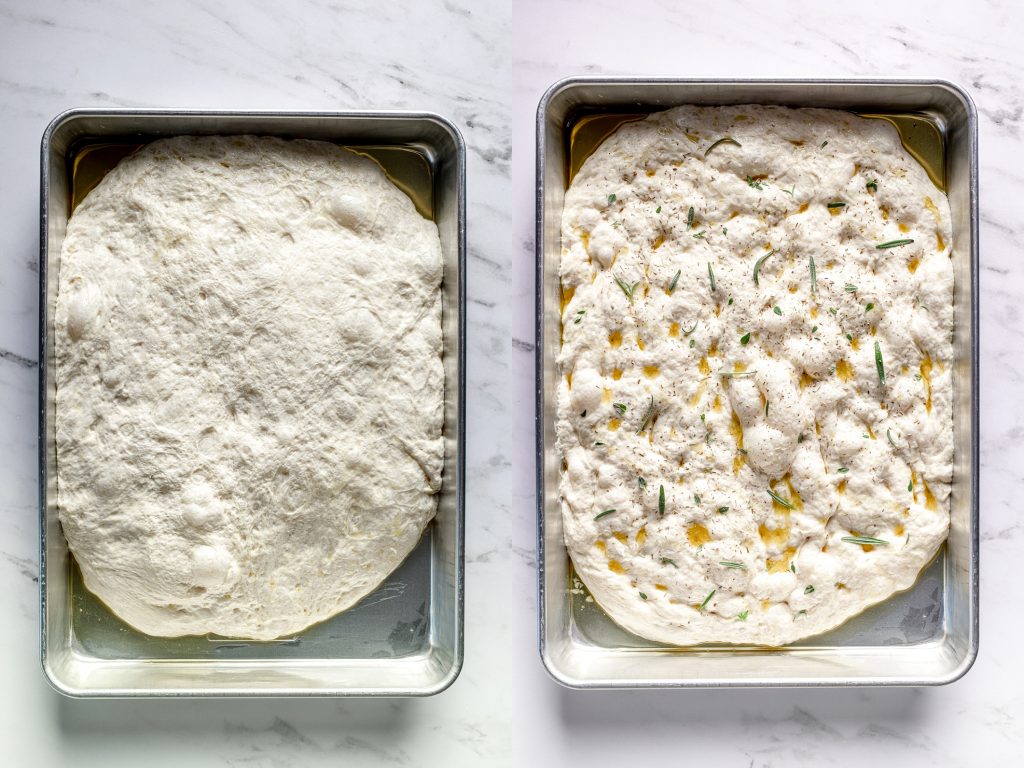
Some recipes will have a cold ferment. This is when your dough is placed in the refrigerator to significantly slow down the rising period. My No-Fuss Focaccia recipe is one. Time equals flavor when it comes to bread, so if you have the time it’s often worth it. Some doughs can be left to rise in the fridge for 3-7 days! All that extra time develops a LOT of flavor!
Baking the Bread
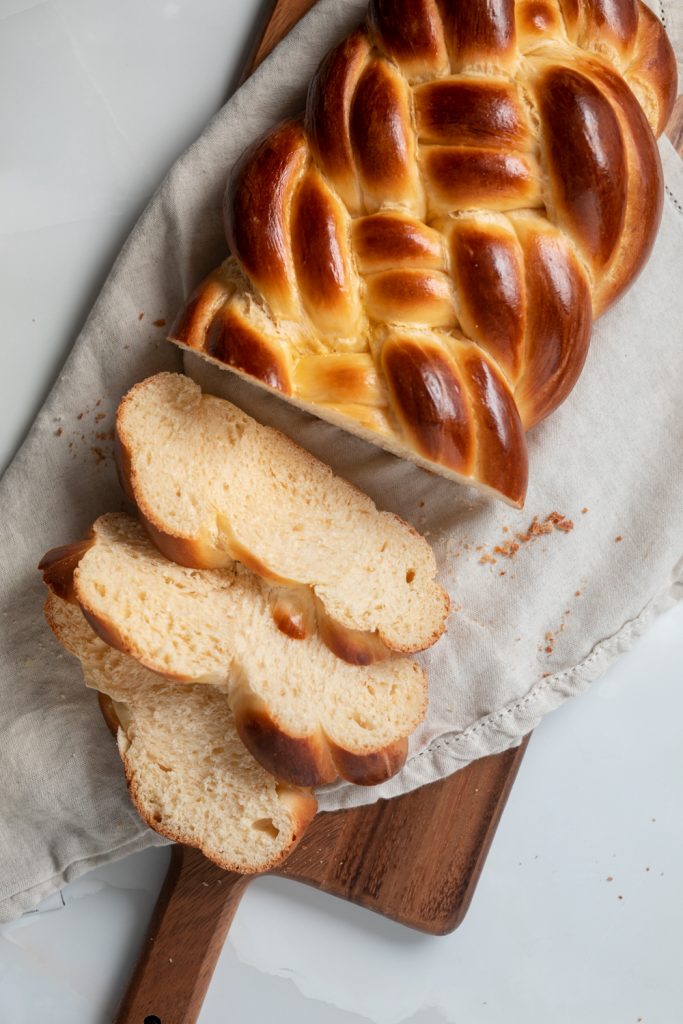
The final and last of the bread baking tips is on actually baking the bread. Most bread, you want to bake until it’s at least golden brown but some are much better when they get into the darker brown crust territory. Generally, you want bread to baked around 180-190F. Just like when you bake chicken or a turkey, you can use a thermometer inserted into the center to get a temperature read.
Also, tapping the bottom of most breads should give you a hollow sound. That is a good indication it’s done baking. BUT, don’t cut into that bread yet! Most bread you want to wait until its completely or almost completely cooled. You want to allow your bread to release all the steam inside so the interior of your bread isn’t gummy when you cut in. I know it sucks waiting a little longer, but its almost always a the best choice.
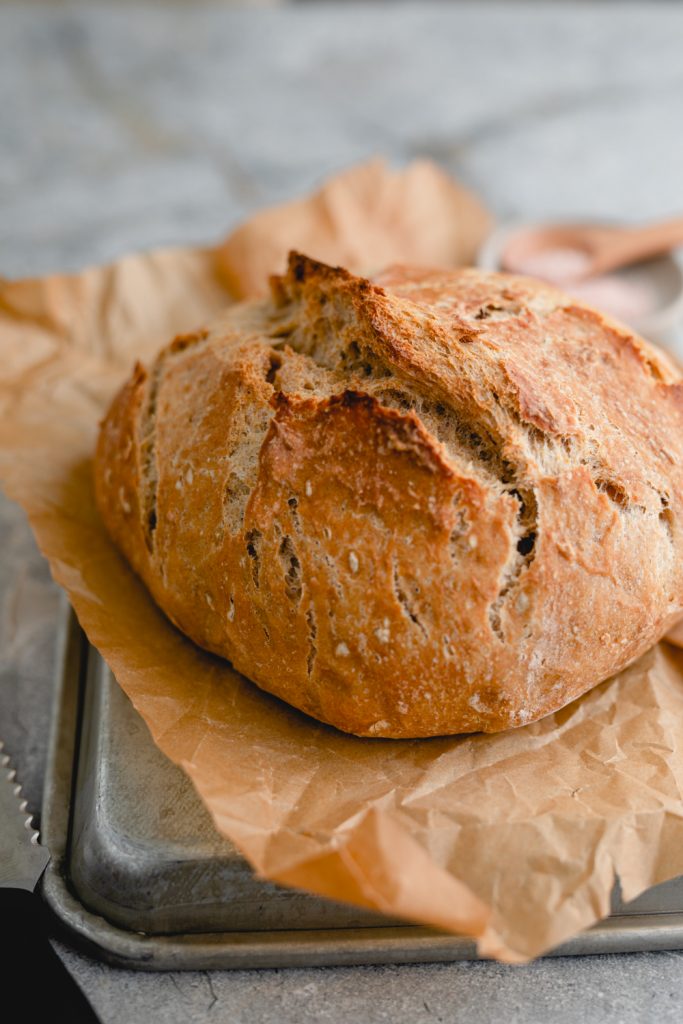
Baking bread doesn’t have to be scary or hard. Just leave yourself some time and try it! This White-Wheat Dutch Oven Bread is a great option to try if you don’t want to do any kneading or much shaping. It doesn’t need fancy ingredients, just flour, water, salt, yeast, parchment paper and a dutch oven.
I love helping people so if you ever have any questions, feel free to leave a comment on the blog, send me an email or send me a DM on social media!

One Comment