PHOTO BTS: Artificial VS Natural Light
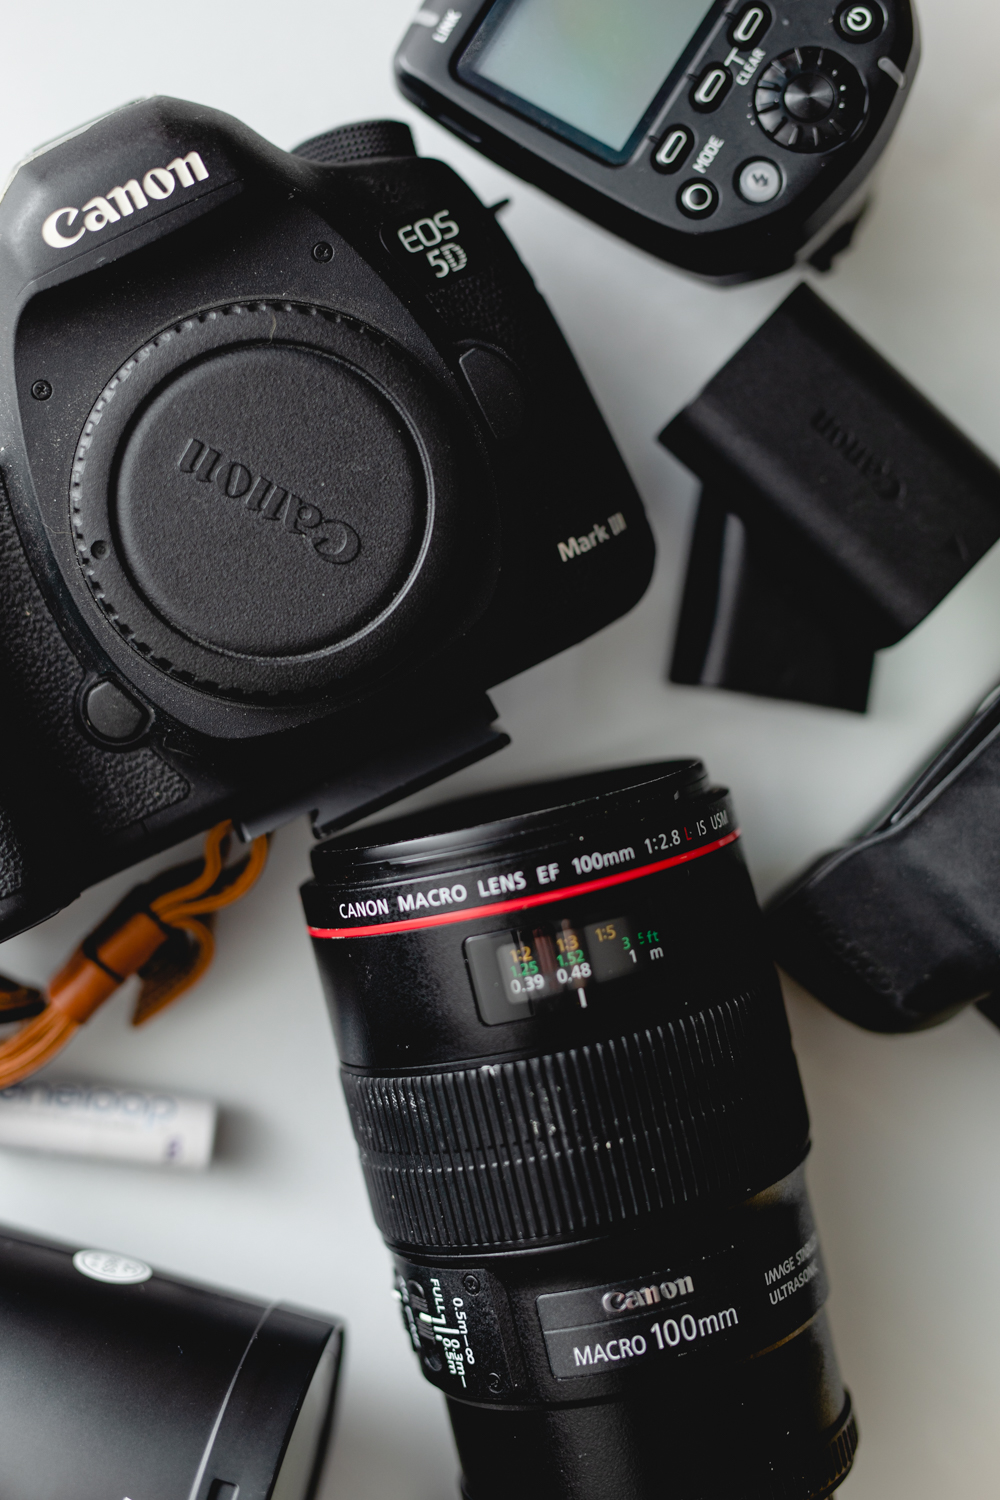
I have been a photographer for about 20 years. Doesn’t seem possible, but apparently it is. 20 years ago I was just a teenager with a camera but I knew I wanted to be a photographer as a career, and I was learning about composition and signing up for photography classes.
For a long time I didn’t know how to use flash other than how the average person does. The pop up flash was fine. I learned a little bit when I worked at a portrait studio, but we didn’t have to move them, or control them. They just existed and I now knew what a halo and key light were.
When I became a portrait photographer I went the natural light route. Mainly because it was fine for what I was doing, but also because lighting seemed intimidating AF. When I became a wedding photographer, I had to learn. I said to myself.. this isn’t as scary or hard as I thought. Yes, there are concepts you have to practice to get better at. But, that’s the case with everything in photography. And it can make your work so much easier at times, and sometimes SO MUCH BETTER. After all, photography is about light. Great images usually have great or dynamic light.
Start Small
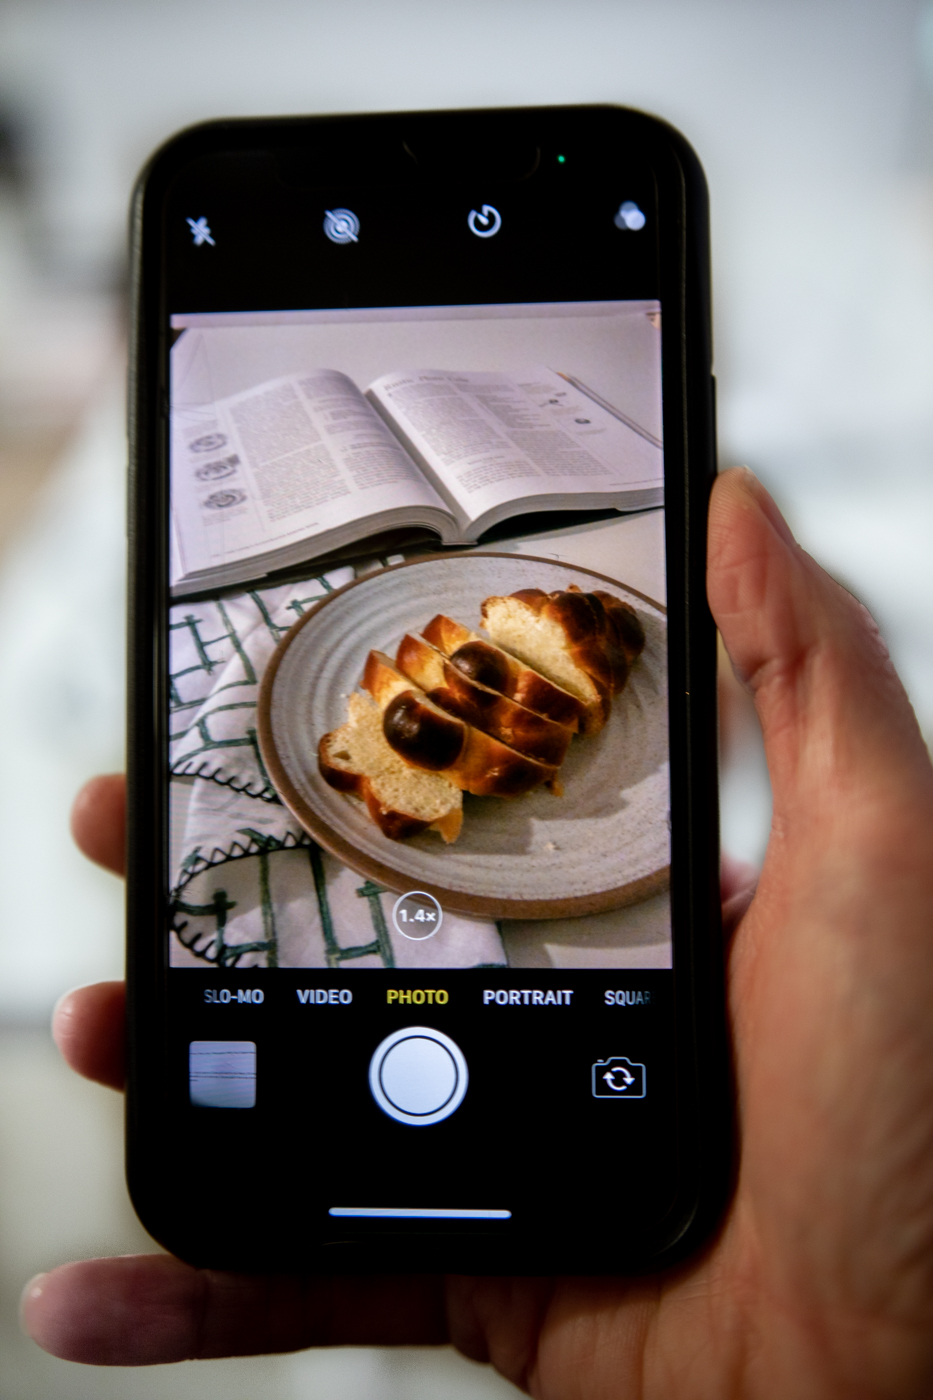
So, if you don’t know where to start or are curious (or think it’s too hard for you), this is a good place to start. Let’s get to the good stuff, but we’ll start off simple. Natural light is easy, it’s the sun. It’s a bright world and you’re just living in it. You don’t set the intensity or the placement, you just figure out the direction and if you want to diffuse it. But.. you don’t control it, so sometimes it’s too bright. Sometimes it’s not bright enough, or it sets too early.
With artificial light, every con of sunlight disappears. You set the power, the placement, the spread, the angle, and the time. If you want soft side light? No problem. You want harsh light with high contrasty shadows? That can come from the same light source. You can do either of those at 7 am or 11pm.
So I decided to photograph one bake with both natural light and artificial light. Here are some examples and we can chat about the differences and similiarities.
Side by Side Comparisons
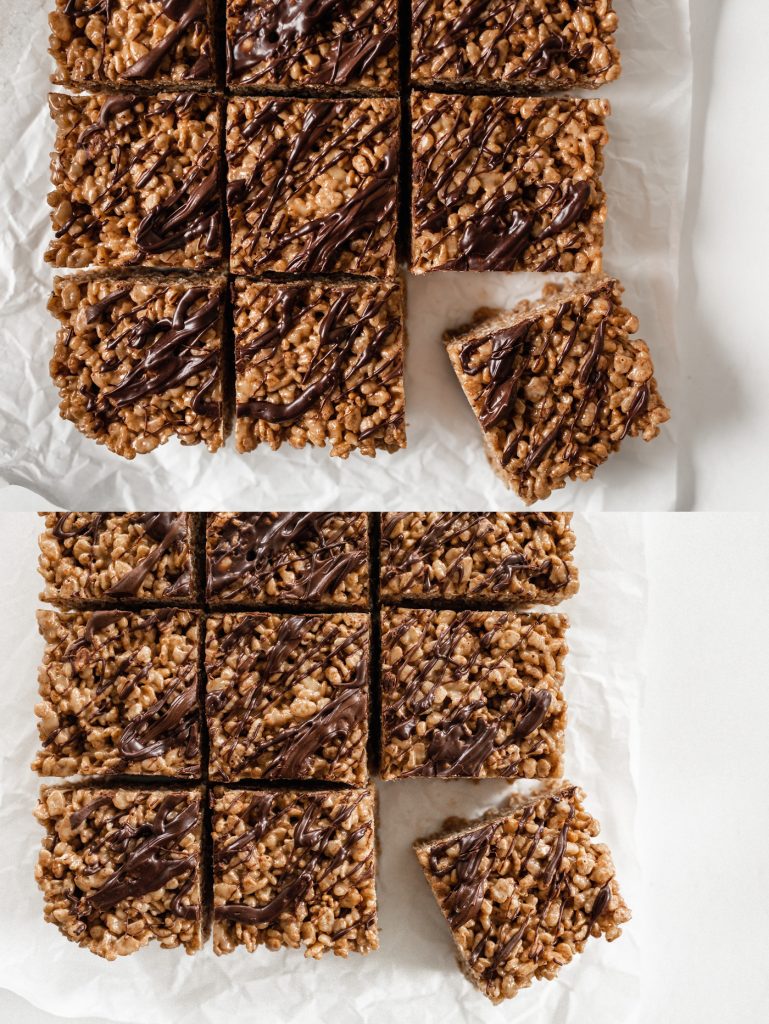
This one the big difference is harder to see unless you look at them individually. The natural light image had a LOT more grain, due to the fact that I had to up my ISO to about 800 to get anything other than a black frame. Higher ISO will always make for a noisier image, but even more so if you don’t have extra light. It’s easier to raise your ISO when you have a lot of light without getting grain, but when you have the extra light.. you often don’t need to.
The shot with artificial light you have a bigger dynamic range between shadow and highlight, which is really evident in the crinkles of the parchment. You also have a little deeper shadows, however that’s something that can be modified with changing your lighting set up, adding more diffusion, etc. I don’t mind the shadows here.

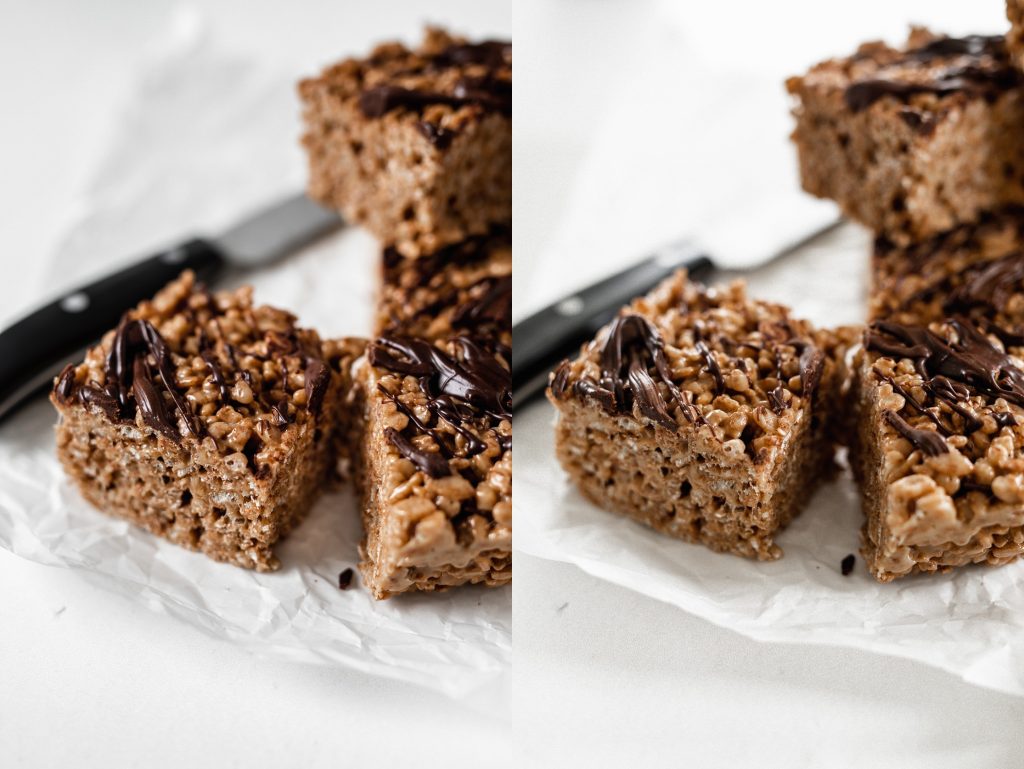
So on this one I think the biggest difference you see is with the colors. Artificial light can render very cool. There are orange filters you can add to negate this, but what and where you’re shooting can change the temperature of an image more dramatically in my opinion. You can see gray in the image with flash is more cool and accurate to what it looks like to the eye.
The naturally lit image everything is a little warmer. The backdrop is a warm gray, and the bake is a little more orange.
The shadows on these I think are pretty similar, they just are opposite. The image using flash was lit from camera left and the natural light image had a window camera right. I could have turned my whole set up around to try and get the exact same light, but I thought it was more accurate to just keep it in the same spot.
This one the differences I think are actually more attributed to light placement than the light itself. This one I almost liked the natural light one more, but I think I like them equally.
The big difference is the natural light image, the light is coming from two windows more behind the setup. One directly behind, and one more behind and camera left. So it’s leaving shadow on the front side of the bake, but you have nice highlights on the chocolate drizzle still, and backlit images can look really great.
The artificially lit photo was lit from the left side, 90 degrees to camera. You can see that the front and sides of the bake are more lit, creating less shadow, and more highlights on the chocolate drizzle.
Final Thoughts
Now, it is possible to get almost identical images out of these. However, in my experience my natural light images need more time, I almost always have to use a tripod (which I don’t mind but it can definitely slow things down), and I usually need more editing. If the light changes mid shoot, your editing from the beginning images won’t necessarily be the same as your ones from the end. Now, I am NOT knocking natural light! I do it, I did it for a long time exclusively. This is just to say, don’t be afraid of flash or artificial light. You CAN get very natural results and it’s easier than you think.
Next time, we’ll chat about lighting equipment! Was this helpful? Do you have questions about this or for next time? Leave a comment below 🙂