IphoneOgraphy 101
Now, I should start by saying you obviously don’t need to use an iPhone. Whatever phone with a camera will work. I’m going to give you some very basic tips on how to get your best foodie photos with the camera you already have. Now, this is mainly for those of you just getting started, hence the 101. Perhaps I’ll do a 201 on editing on your phone?
Tip#1 – Light before everything
So, light is basically the most important thing when it comes to photography. You could have the most beautiful subject but if you have some garbage light, you’re most likely going to have a garbage photo.
Fluorescent, incandescent, or any man made lightbulb that is not for the purpose of photography is a big yikes. It’s going to mix in with your natural light and create an image with muddy tones. It might seem counter intuitive but.. turn them off, or go far away from them. Find a window, some natural light. It’s free and I’m guessing you have a window SOMEWHERE where you are.
If you can’t shoot with natural light, I would suggest buying an LED video light. You can find them for about $25, so you don’t have to get anything too fancy. That behind a diffuser screen can help give you some extra light.
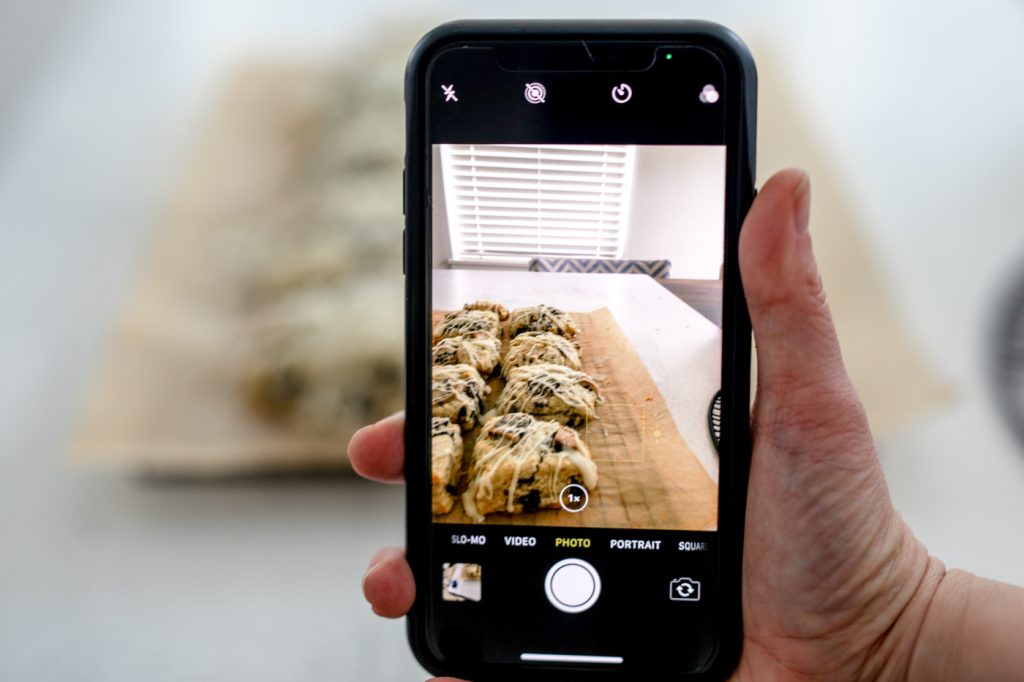
Tip#2 – Use the focal point
I’m often surprised how many of my friends aren’t aware of the tools built into your phone’s camera. Make sure after you frame your food, tap the screen where you want the main focus to be. Phones are pretty smart but sometimes they think they know better than us. Make sure it knows who is boss. This not only refocuses your image but it will also adjust the lighting based on the subject, which in photo terms is referred to as spot metering.
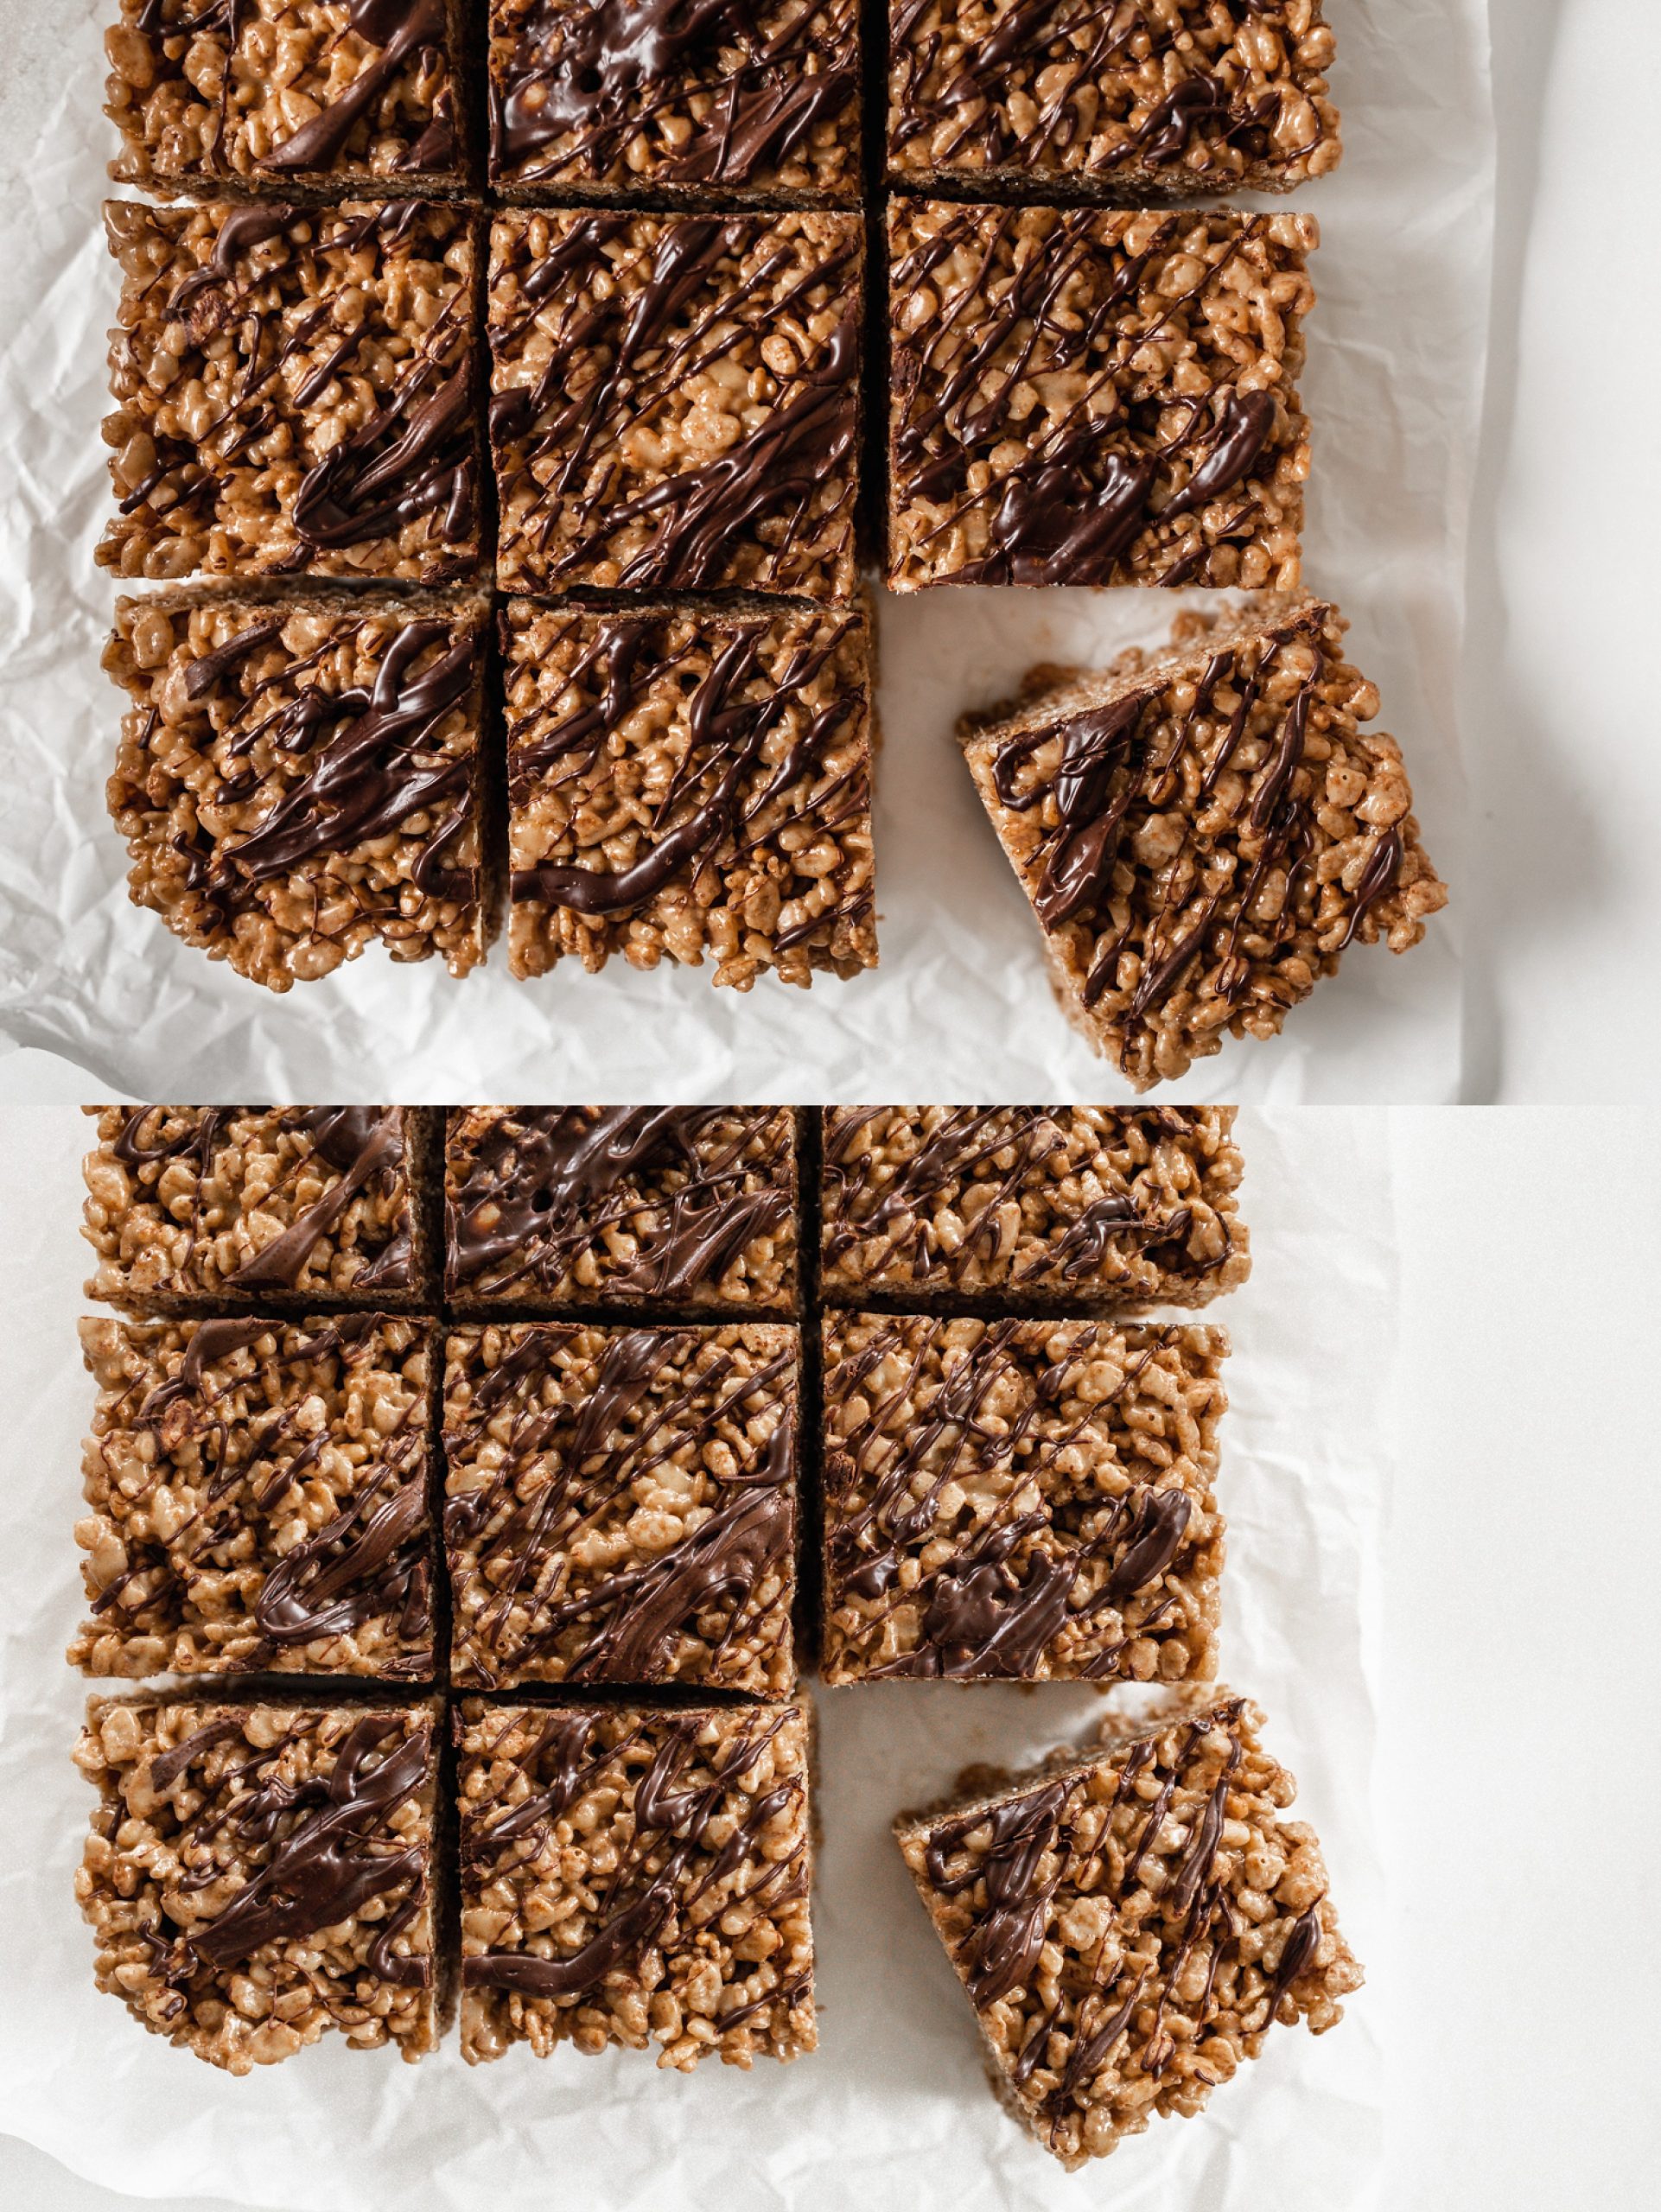
Tip#3 – Try another angle
So this seems simple enough, but sometimes we get tunnel vision. We see THE SHOT in our mind and once we get it we’re done. But sometimes, moving to another angle, which maybe is photographing it from the other side, from higher up or down low is a much more interesting shot. Sometimes it’s not, but sometimes you get something way better than what you even planned.
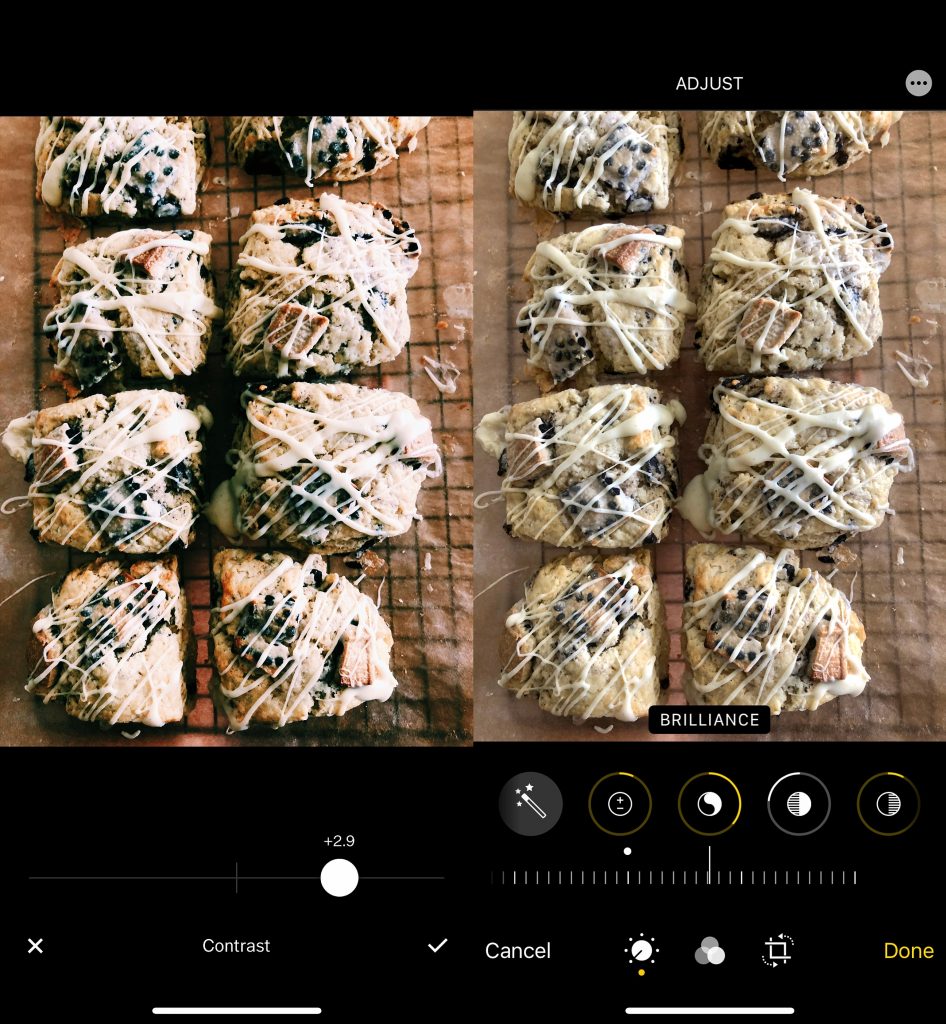
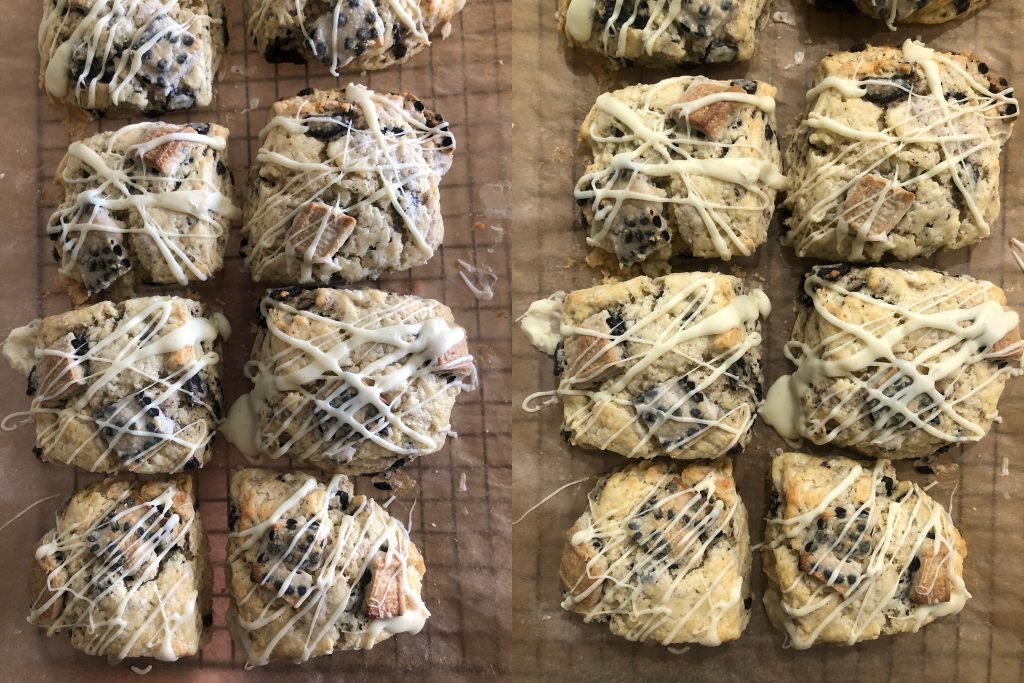
Tip#4 – Back away from the editing software
Do not over edit your photos. I repeat, do not.. over edit your photos. When it comes to editing, less is more. I see so many photos on instagram that are SO BRIGHT it’s hard to look at them. Detail is lost in the search for getting a “light and airy” image. Cranking your exposure up 200% will get you a bright photo.. but that doesn’t make it good. When I’m having a tough time editing an image, I’ll edit it and then not look at it for a few hours or a few days. When you come back to it you will probably see things you didn’t before. Generally speaking, a little brightness and a little contrast are probably all you need. Maybe a shift in white balance if your image looks particularly blue or yellow. You want your photo to look like it does just with a little pop.