Chocolate Malt Milk Buns
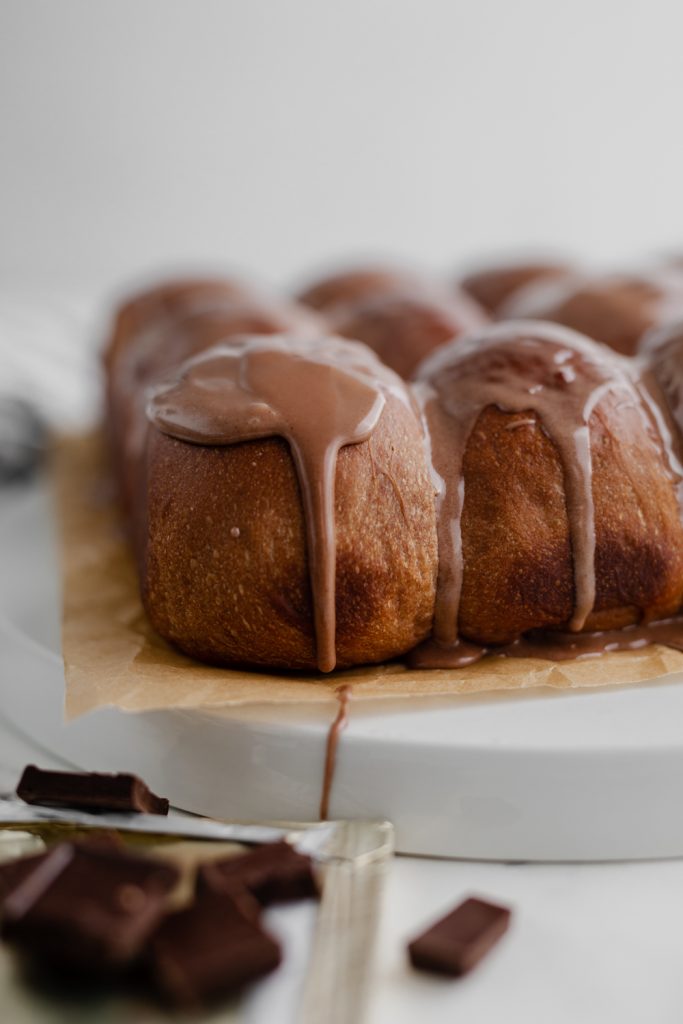
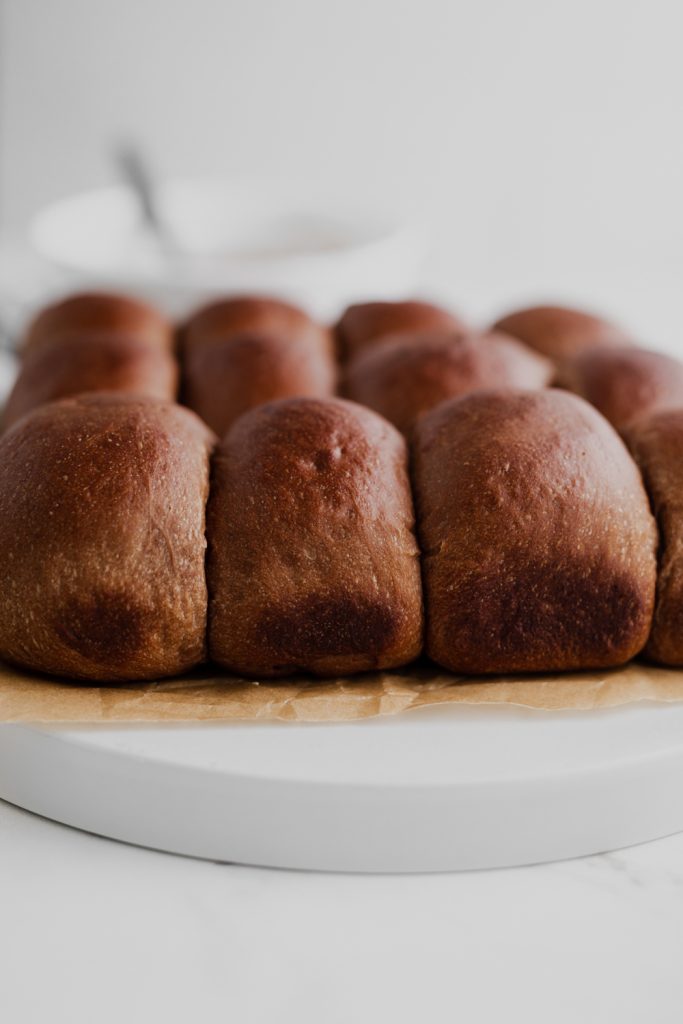
These chocolate malt milk buns are like heaven. Have you had Japanese milk bread? If you haven’t.. you need to. Simply wonderful. It’s SO SOFT and pillowy and basically melts in your mouth. Like a bread version of cotton candy. Not exactly but just as delicious.
I love milk bread when it’s unflavored, it’s ever so slightly sweet but honestly not in a way to make it a dessert bread or like cake. Kind of how Hawaiian rolls are slightly sweet. But I did have a thought, what if they were more sweet. What if they were lightly chocolate. Would it be like a milkshake flavor? Do you know what I love WAY more than chocolate milkshakes? Chocolate malts. That’s because they are better, #facts. We can discuss our differences in the comments if you’re wrong haha.
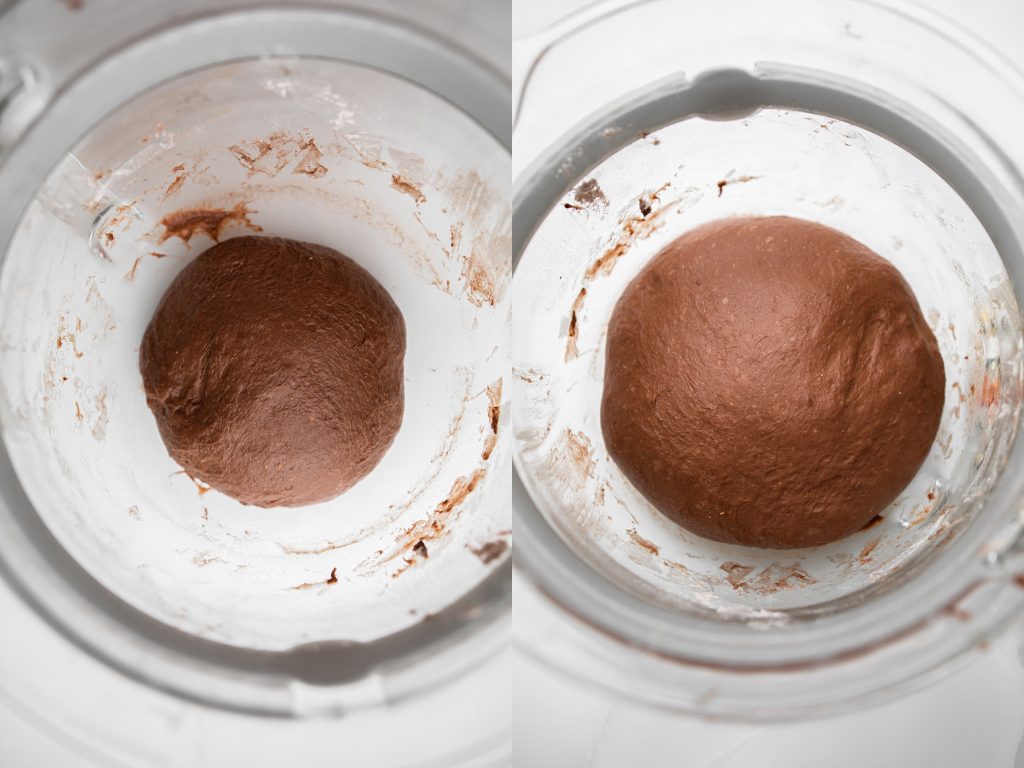
So I set out on a journey to make this bread full of that chocolate malt flavor. If you’ve ever made a chocolate malt, you know you actually don’t make it with chocolate ice cream, you make it with vanilla! So I added vanilla extract to the bread as well as just a little cocoa powder. The first time I added WAY TOO MUCH cocoa and it came out like a chocolate brick.. with raw dough in the middle after 35 minutes. I had about 2% faith that the first loaf was going to work since it basically didn’t rise but I had to try! For science!
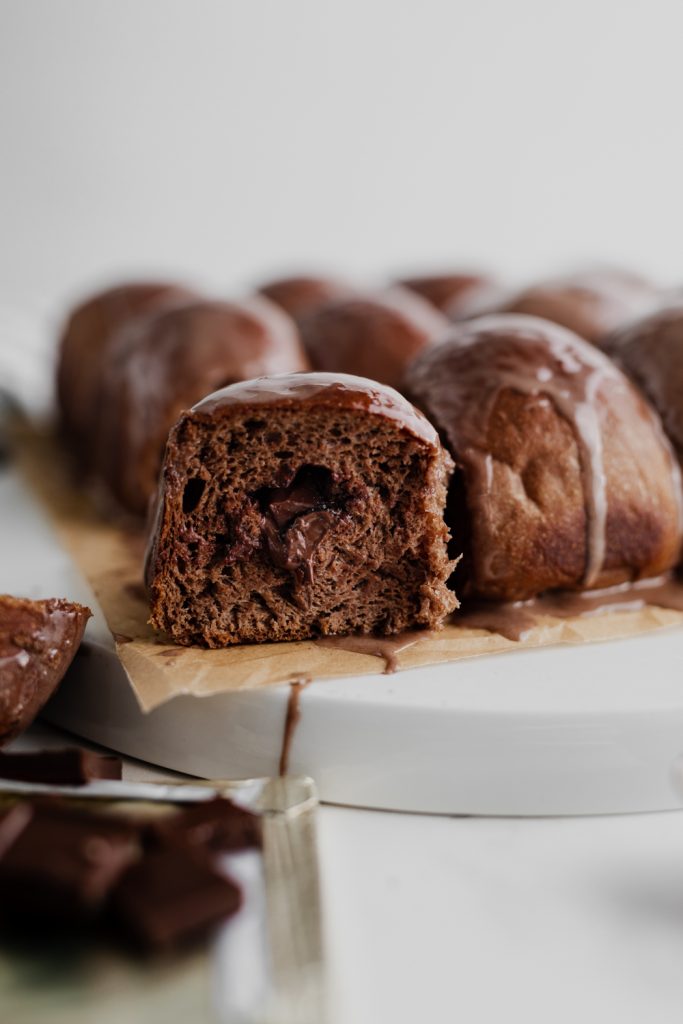
This bread on its own without the glaze is just very lightly flavored with cocoa. But then, you stuff some chocolate in the middle and add a glaze. The glaze is really what put this bread over the edge, but you could totally eat them without. Just don’t expect it to taste like a brownie.
Key Ingredients
- Diastatic Malt Powder – This ingredient is definitely optional but it will help your bread rise a LOT. I’ve made it without and the bread takes much longer to rise and does not rise nearly as well.
- Malted Milk Powder – The flavor of a chocolate malt, this is super important for the glaze to have that distinct flavor.
- Cocoa Powder – Unsweetened chocolate goodness
- Chocolate – Stuffing the buns with chocolate creates melty pools of chocolate when you bite into them.

Ingredients
Tangzhong
- 14 g Bread flour 2 tbsp
- 43 g Water 3-3½ tbsp
- 43 g Whole or 2% milk 3-3½ tbsp
Dough
- 325 g Bread Flour 2½ cups
- 1 tsp Diastatic malt powder optional
- 2 tbsp Baker's dry milk
- 1 tbsp Instant yeast
- 1 large Egg room temp
- 1 tsp Salt
- ½ tsp Vanilla extract
- 4 tbsp Unsalted butter soft
- 12 g Dutch-processed cocoa powder 2 tbsp
- 50 g Sugar ¼ cup
- ½ cup Whole or 2% milk room temp
- Chocolate bar/chips of choice
Glaze
- ½ cup Confectioner's Sugar
- 1 tbsp Malted milk powder
- 1 tsp Cocoa powder
- 3½ tbsp Heavy cream
Instructions
Making the Tangzhong
- Whisk together milk, water and flour in a small bowl and pour into a small saucepan.
- Heat over low to low medium heat, and whisk frequently
- Mixture is ready when the whisk leaves trails allowing you to see the bottom of the saucepan. It will be a pudding like consistency. This should only take 1-2 minutes.
- Transfer back to small bowl and let cool to room temperature.
Making the dough
- Combine all the dough ingredients including the cooled Tangzhong, except for the butter in bowl of stand mixer with dough hook attached.
- Mix on low until dough comes together, cover and let sit for 20 minutes.
- Add 1 tbsp of soft butter and mix until butter has been fully incorporated.
- Add each additional tbsp of butter after the previous has been fully worked into the dough.
- Mix dough on low until dough is smooth and sticky. If you pinch a piece of the dough and pull up, it will stretch and hold.
- Let dough rest and rise in a lightly greased covered bowl in a warm spot for 1-2 hours. Dough will not rise significantly, but it does expand. It can be helpful to take a photo right before proofing as many times I have felt like the dough hasn't risen but it has.
- Lightly grease an 8-9 inch pan. It can be circle or square (I usually use a springform pan) and set aside.
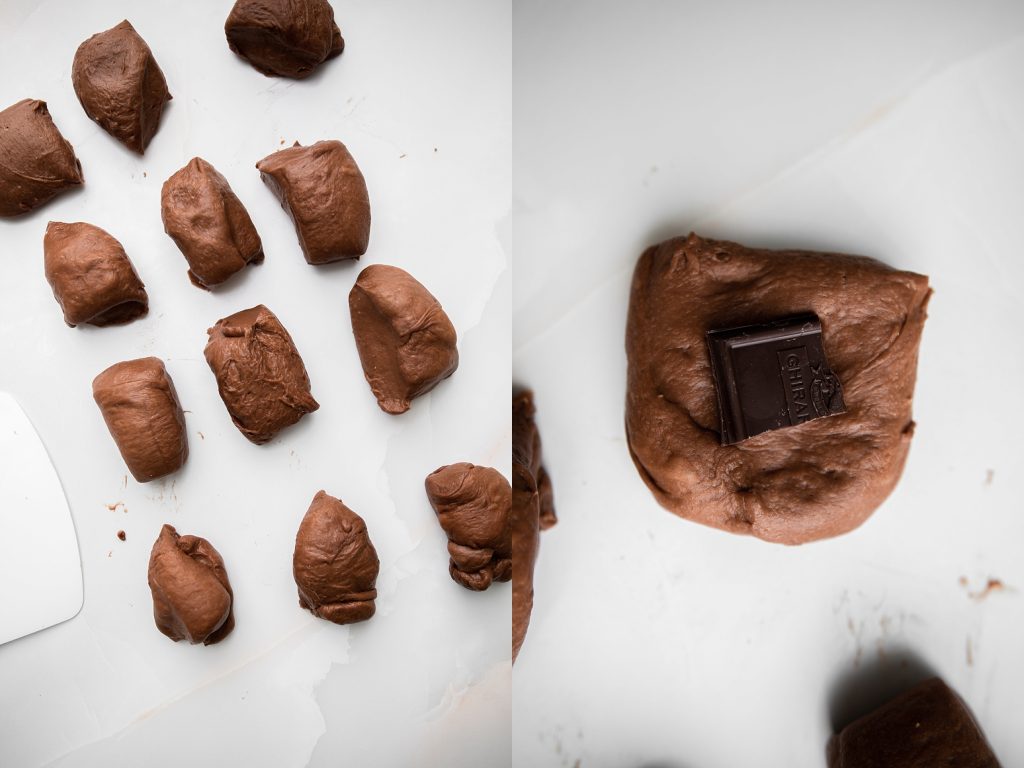
- Set dough on a lightly floured counter and divide into 8-12 equal portions depending on what type of pan you use.
- Flatten slightly each portion of dough and add chocolate to center. Pinch together dough to create a ball. **See note on chocolate**
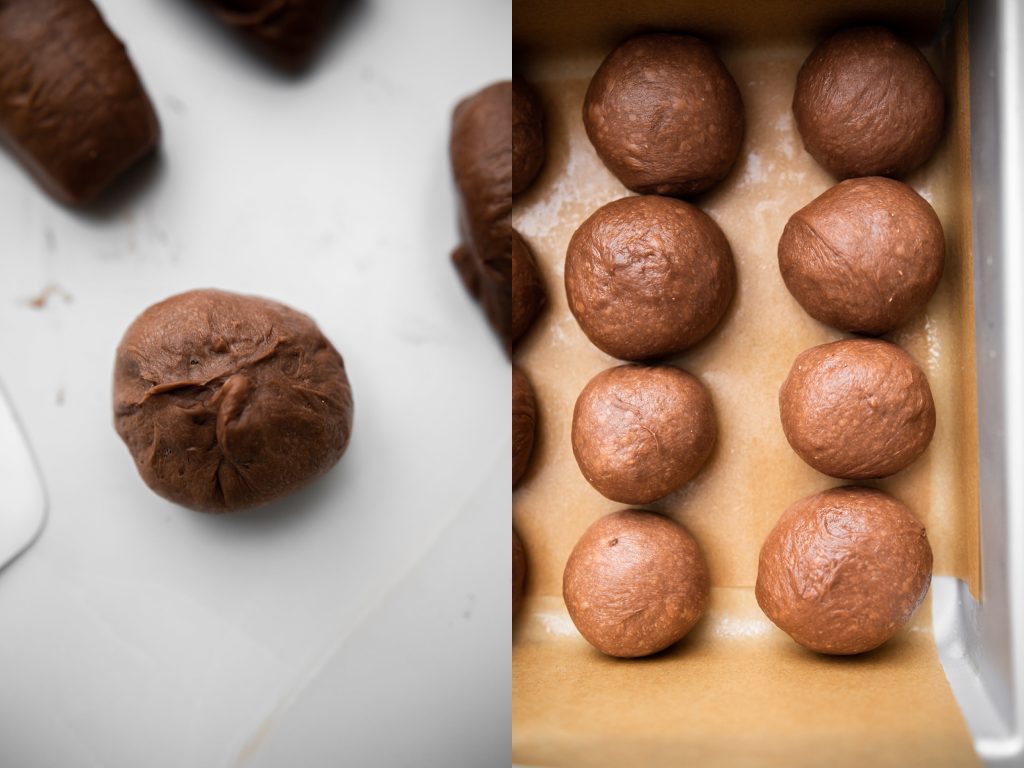
- Place dough seam side down, cupping hand over it on work space and using circular motion create tension in the dough.
- Place dough into prepared pan, cover and let rise for another 45 minutes in a warm area.
- Preheat oven to 350°F
- Bake buns for 25 minutes on middle rack. A thermometer inserted into the center of the dough should read 190°F.
- Let buns cool in pan for 10 minutes, then remove and place on a wire rack. While the buns are cooling, prepare the glaze.
Making the Glaze
- Whisk together confectioner's sugar, malted milk powder, and cocoa powder in a small bowl. Add heavy cream, starting with 2 tbsp and adding as needed. Glaze will be thick but when whisk is removed, a thick ribbon should flow freely
- Once bread has cooled for 20 minutes (10 in pan, 10 out of pan), drizzle glaze over buns.
- Enjoy while warm!
Notes
- How much and what type of chocolate is really up to you. I tested this with both semi sweet and milk chocolate, chips and a bar. I used about 4-7 chocolate chips (depending on how big they are) in the center and when using a bar I used about a 1/2-3/4″ square.
- If not using glaze, the rolls can be dusted with confectioner’s sugar for a little added sweetness
- Buns can be made without Diastatic malt powder, however this helps the bread rise, and will noticeably shorten your rising time. Note that diastatic malt powder is NOT the same as the malted milk powder used in the glaze, and is also different than non-diastatic malt powder.

6 Comments