Super Soft Milk Bread Buns
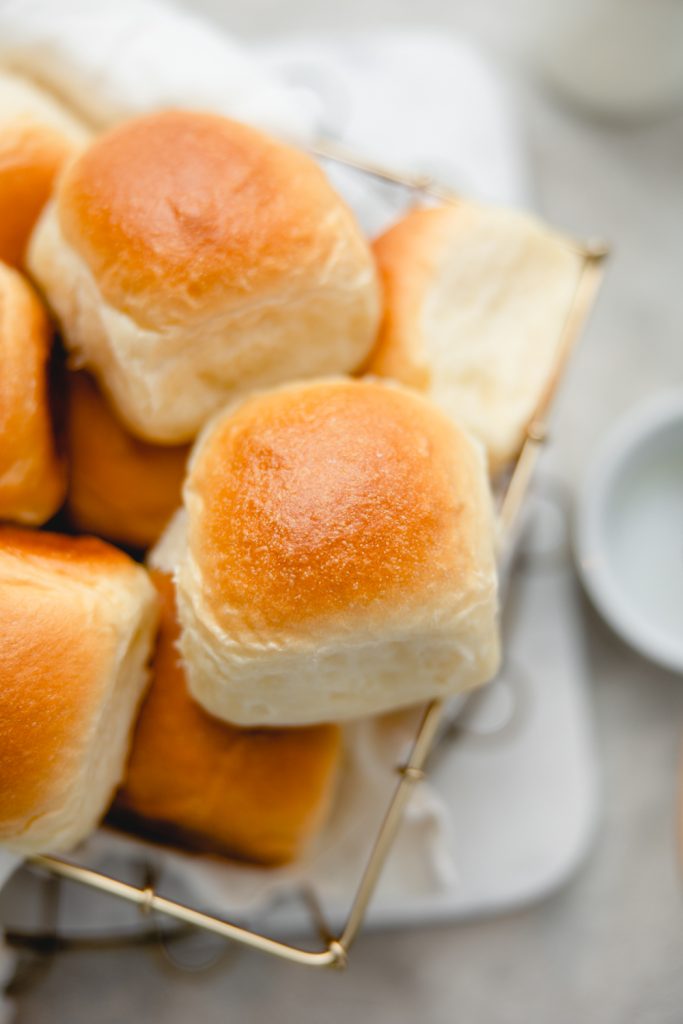
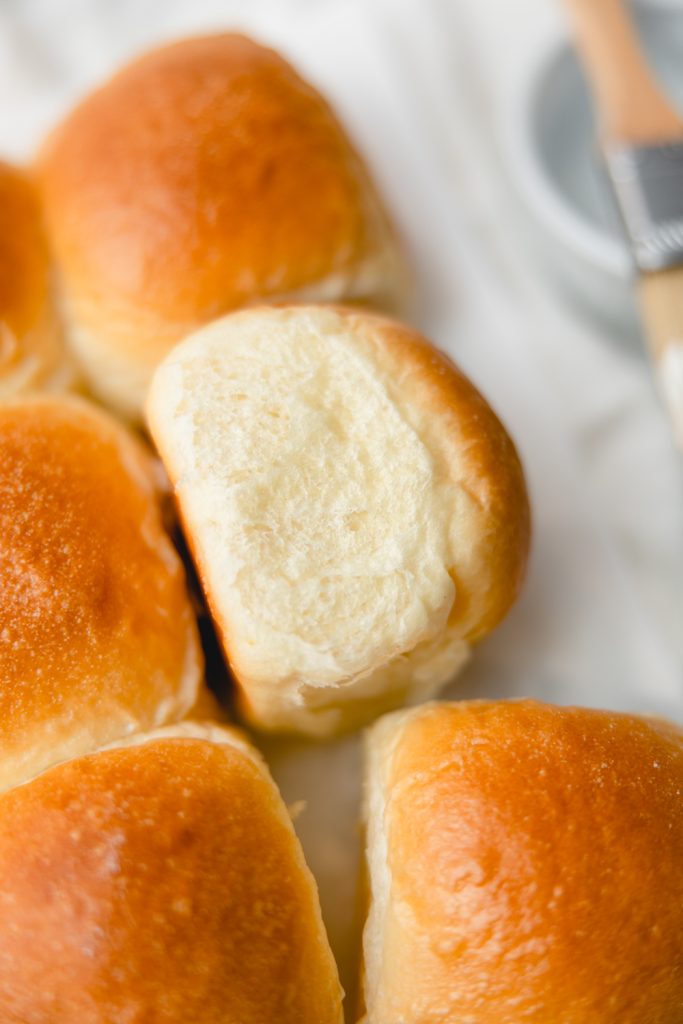
Milk bread is one of my favorite types of bread. It’s uber soft and very lightly sweet, but not sweet enough to be considered a sweet or dessert bread. I happily make these milk bread buns to go with dinner. Milk bread sometimes is called Hokkaido or Shokupan, as it was developed in Japan. In japan, it is often like our white bread. A basic bread that is cut and sliced for sandwiches.
Milk bread uses a technique called Tangzhong which makes a paste from milk and flour (sometimes milk, water, and flour) cooked briefly on the stove. This paste is added to the dough for two reasons: first, it helps keep it extra soft, and second it helps the bread keep longer, as well as keeping it from drying out as quickly. Breads like brioche are often soft but these take the cake. Eating milk bread buns is like little pieces of clouds or a bread version of cotton candy.
Honestly, I could probably eat these milk bread buns daily. This recipe makes the dough into buns, but you can very easily transform this into a loaf if you prefer (Japanese Milk Bread Loaf). I also created some dessert versions if you try these (or skip straight to) and want to have a sweeter version: Chocolate Malt Milk Buns or Milk Bread Chocolate Babka. One is a chocolate bun stuffed with chocolate and a chocolate glaze, and one is a standard milk bread swirled with dark chocolate filling.
Baking Tips
When I first began baking milk bread buns, I would usually divide the dough into 12 portions and bake them in a 9×13 pan. You can definitely do that and your bread will be a little bit smaller portioned and the rolls will touch less as they bake. I want to stress that these rolls were equally delicious. However, I started baking them in a 9×9 pan and I really prefer that.
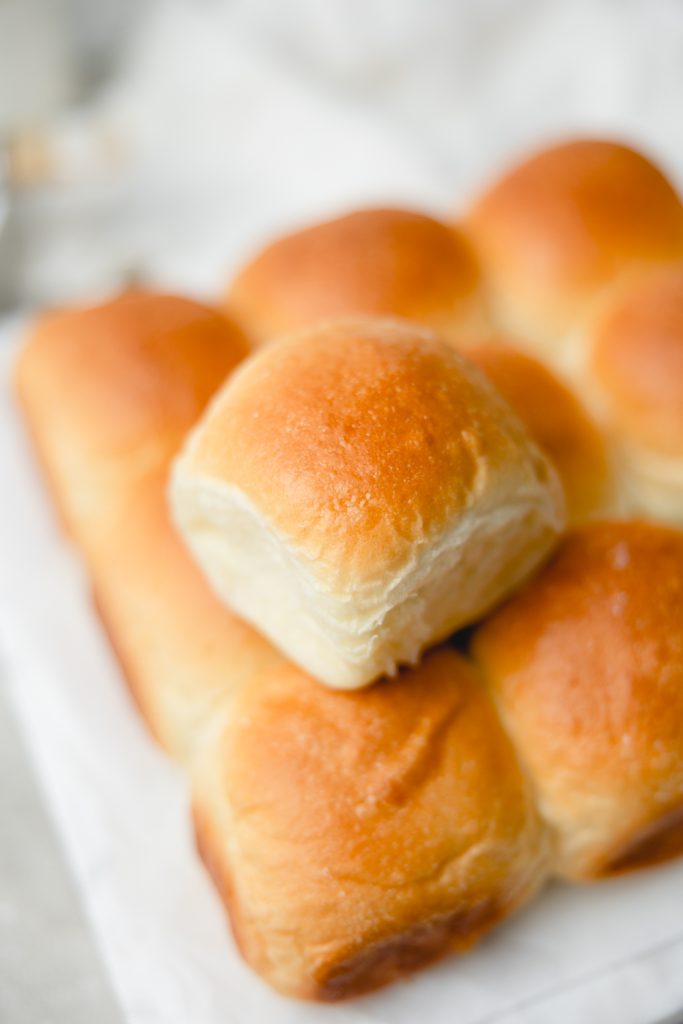
The rolls bake up much taller and all the sides touch so only the one outer edge has any form of crust. It just increases the tenderness ever so much. However, these rolls are so delicious you will probably want larger rolls so it’s a win win.
Additionally, I want to say with bread in general it’s very hard to OVER knead. It’s possible, don’t get me wrong, but it’s hard to do. It’s easier to over proof or over bake. Now the key with milk bread buns is making sure the dough is sufficiently kneaded. Make sure it passes the window pane test. I often let my dough knead for 20 minutes after adding the butter. Your patience will be rewarded in bread softness.
Milk Bread Buns Key Ingredients
- Tangzhong – This paste or roux adds a lot of the wonderful texture to the bread. It both helps keep the bread soft longer, and adds additional softness when it’s first baked. It’s a very easy and quick step, taking five minutes or less.
- Milk – Obviously, as you might assume, milk bread buns use milk. When you use milk in bread, the fat adds flavor and tenderness that water doesn’t quite have the same power as water does.
- Baker’s Dry Milk – Now, you might wonder why bread that is made from milk needs milk powder. Baker’s dry milk is milk that has been heated to a very high temperature, killing the enzymes that weaken gluten. This adds the fats without compromising the gluten and really does make the loaf a lot softer. This bread IS very soft without it, but it’s one ingredient I personally don’t skip.
Ingredients
Tangzhong
- 15 g Bread Flour ~2 tbsp
- 80 g Whole or 2% Milk ⅓ cup
Dough
- 315 g AP or Bread flour 2¾ cups
- 2 tbsp Baker's dry milk
- 6 g Instant yeast 2 tsp
- 6 g Salt 1 tsp
- 25 g Granulated sugar 2 tbsp
- 1 large Egg room temperature
- 120 g Whole or 2% milk ½ cup, warm
- 42 g Unsalted butter 3 tbsp, softened
- 1-2 tbsp Whole or 2% milk for brushing
Instructions
- Prepare the tangzhong. Mix together, 15g flour, and 80g of milk in a small saucepan. Put the saucepan over medium-low heat and whisk constantly. When the whisk starts to leave trails where you can see the bottom of the pan, it is done. Transfer to a small bowl and allow to cool.15 g Bread Flour | 80 g Whole or 2% Milk
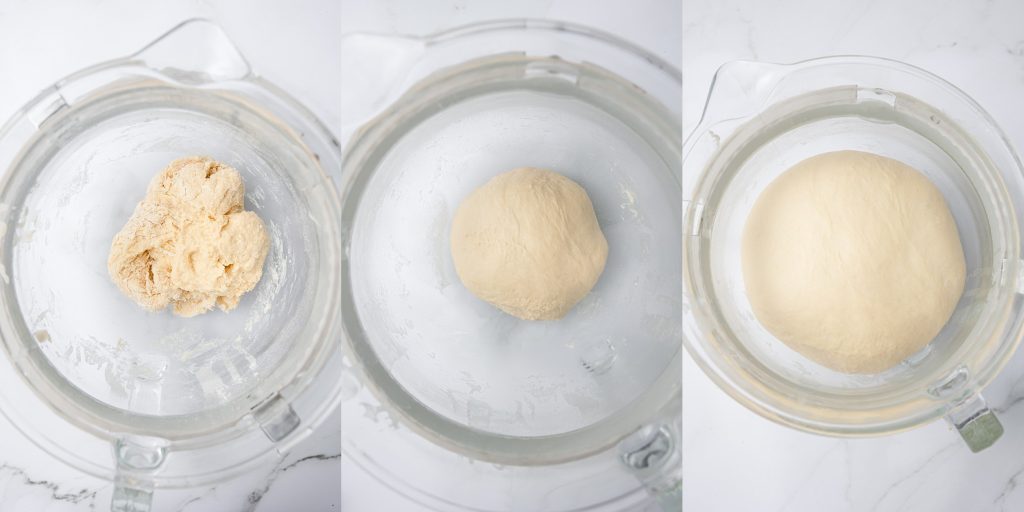
- In the bowl of your stand mixer with your dough hook attached, add flour, baker's dry milk, yeast, salt, sugar, egg, milk, and tangzhong. Mix on low until a shaggy dough forms.315 g AP or Bread flour | 2 tbsp Baker's dry milk | 6 g Instant yeast | 6 g Salt | 25 g Granulated sugar | 1 large Egg | 120 g Whole or 2% milk
- Stop the mixer, cover the bowl for 10 minutes and allow the dough to rest.
- After 10 minutes, one tbsp at a time, add softened butter. Let butter fully incorporate into the dough until adding the next. For me it generally takes about 5-7 minutes to add all the butter and for it to be mostly incorporated.42 g Unsalted butter
- Knead dough on low until dough is very smooth and no longer sticking to the sides. The dough will be tacky but also smooth and very elastic, passing the windowpane test. Kneading time beyond the butter stage is usually about 15-20 minutes.
- When dough is ready, place in a lightly greased bowl and cover. Allow dough to rise for 1-2 hours or until doubled in size. If your kitchen is cool, Find a warm spot like on a sunny window sill, or in the oven (the oven should be OFF) with the oven light on.
- Prepare a pan with parchment. A 9×9 metal pan is what I recommend, but a 9×13 pan also works.
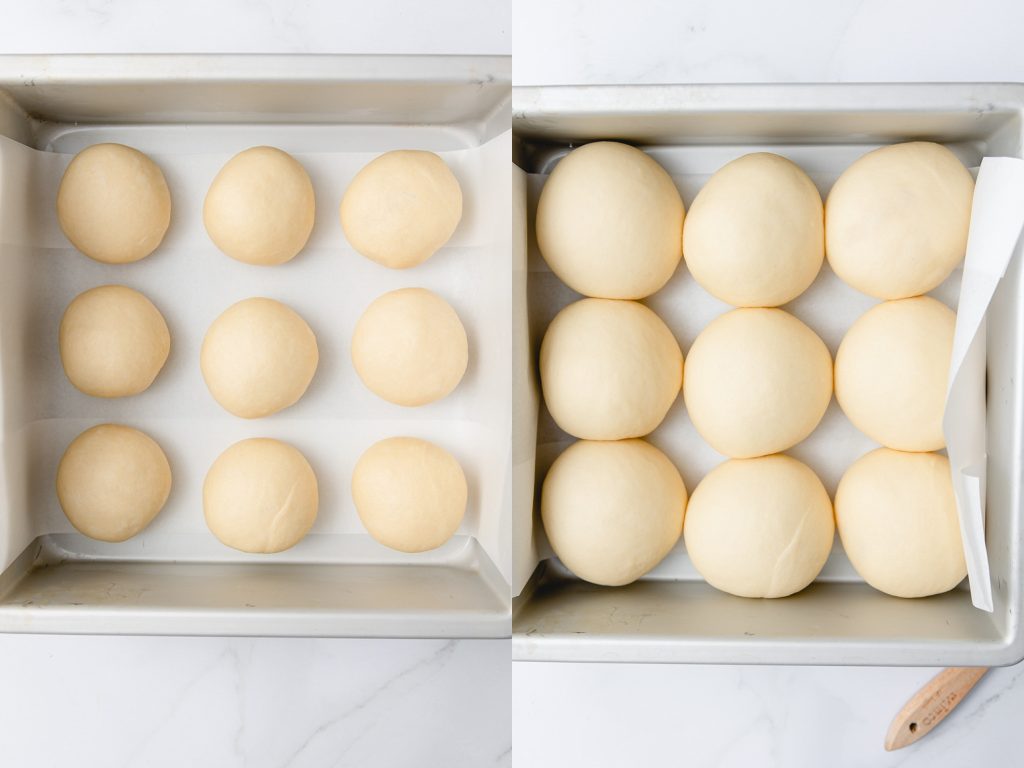
- Punch down the dough and remove it from bowl. Divide dough into 9-12 pieces. 12 pieces for a 9×13 pan and either 9 or 12 for a 9×9.
- For rolls: Take each piece of dough, holding it in your palm and fold the sides into the center, creating a ball shape. Pinch the bottom pieces together. Then place the dough ball seam side down on the counter. Cup your hand over the dough and use a circular motion to further round out and create tension in the dough.
- Place dough ball seam side down into the prepared pan. Repeat with remaining pieces of dough, spacing out evenly.
- Cover the pan and allow dough to rise again for about another 45 minutes-1 hour, or until dough has puffed significantly.
- About 20 minutes (more or less depending on your oven) into the second proof, preheat your oven to 350°F.
- When buns are ready, brush the tops with 1-2 tbsp of milk. Then place on the middle rack of your oven and bake for about 25 minutes or until buns are golden brown. A thermometer inserted into the bread should read 190°F.1-2 tbsp Whole or 2% milk
- Remove the bread from the pan to a wire cooling rack within 5-10 minutes. Let bread cool at least 30 min before eating. Store in an airtight container and best enjoyed within 24 hours but will keep for 3-4 days. Enjoy!


These are 10/10 thank you for introducing me to these!!! I did it without the milk powder and I think they still came out great. They are so soft an delicious. The only issue is I wish I could quadruple this recipe in one go!!!